Spring AC Startup Checklist North Texas 2025: Complete System Preparation Guide
Essential spring AC startup checklist for North Texas homeowners. Expert preparation steps, safety protocols, and performance optimization before summer heat.
The First 85-Degree Day Disaster That Costs $2,400
Mrs. Patterson in Frisco called me in a panic on the first 85-degree day of spring. “My AC ran for 20 minutes, then shut down with this awful burning smell!”
When I got there, I found exactly what I expected - and dreaded. A motor bearing had seized after six months of sitting idle. The burning smell was the motor trying to turn a shaft that wouldn’t budge.
Emergency repair cost: $2,400. On the first hot day when every HVAC tech in North Texas is swamped.
This scene repeats thousands of times every March and April. Families who skip the simple spring startup procedure, then get hammered with emergency rates when their neglected systems fail on the first day they need them.
A two-hour startup checklist costing less than $50 in materials could have prevented this disaster completely.
Why Spring Startup in North Texas is Make-or-Break
Our climate creates perfect storm conditions for AC system failures. Here’s what six months of Texas weather does to idle equipment:
Electrical Torture: Temperature swings from 75°F to 15°F stress wiring and connections beyond design specifications, causing failures at startup.
Pollen Apocalypse: Cedar and oak pollen plus dust storms clog systems solid, restricting airflow and reducing efficiency when you need it most.
Humidity Havoc: Wild humidity swings create corrosion, mold growth, and mysterious electrical failures that develop over winter months.
Ground Movement: Clay soil shifting disconnects ducts and shifts equipment placement, compromising system integrity.
Storm Casualties: Winter storms damage outdoor units while you’re not looking, creating hidden problems that emerge during startup.
NEVER DO THIS: Don’t test your system for the first time when it’s actually hot outside. I learned this the hard way - emergency calls triple when everyone’s AC fails on the same 95-degree day.
Test when it’s 65-75°F outside. If something’s wrong, we can fix it without panic pricing, get parts easily, and you’re not competing with every other family whose AC just died. Smart homeowners test in March, not May.
Pre-Startup Safety Protocol
Before touching any equipment, follow these essential safety steps to protect yourself and your HVAC system.
Electrical Safety First
1. Power Off at Main Panel (2 minutes) Locate HVAC breakers (usually labeled “AC,” “Air Handler,” or “Heat Pump”) in your main electrical panel. Switch all HVAC-related breakers to OFF position to ensure complete power isolation. Wait 5 minutes before proceeding with any work to allow capacitors to discharge safely.
2. Thermostat Safety Check (1 minute) Set thermostat to OFF position to prevent system activation during maintenance. Remove batteries if wireless model to ensure complete system shutdown. Verify no display activity before proceeding with any electrical or mechanical work.
3. Outdoor Unit Inspection (3 minutes) Check for visible damage from winter storms that may have affected equipment operation. Look for animal nests, debris, or vegetation overgrowth that can block airflow and reduce efficiency. Verify unit is level and securely mounted to ensure proper operation and prevent vibration issues. Warning: if you see refrigerant lines damaged or oil stains, call professional immediately.
Essential Tools and Materials
Homeowner Tools Needed:
Garden hose with spray nozzle for gentle cleaning of outdoor components. Screwdriver set (Phillips and flathead) for removing access panels and components. Flashlight or headlamp for proper visibility during inspection and maintenance. Level (smartphone app works) to verify equipment mounting and positioning. Camera for documentation of conditions before and after maintenance.
Materials to Purchase:
New air filter (check current size first) to ensure proper fit and maximum efficiency. Coil cleaner (if needed) for removing accumulated dirt and debris from heat exchange surfaces. WD-40 or similar lubricant for moving parts that require seasonal lubrication. Weatherproofing caulk (if gaps found) to seal any openings that developed over winter.
Complete Spring AC Startup Checklist
Phase 1: Outdoor Unit Preparation
Step 1: Clear and Clean Condenser Area (20-30 minutes)
Remove Winter Debris:
Clear all leaves, twigs, and debris from around unit to ensure proper airflow and heat rejection. Maintain 2-foot clearance minimum on all sides for optimal performance and service access. Remove any protective covers (they trap moisture in spring) that can cause corrosion and component failure. Check for animal nests—common in North Texas after mild winters—that can damage electrical components and block airflow.
Condenser Coil Cleaning:
Spray the coils gently from inside-out to avoid damaging the delicate aluminum fins. Use a 45-degree angle spray pattern to effectively remove dirt and debris without bending the fins. Never use a pressure washer, as the high pressure can damage these delicate fins and reduce heat transfer efficiency. Allow at least 30 minutes drying time before restoring power to prevent electrical issues from moisture.
Level and Secure Unit:
Check the pad level using a smartphone app or bubble level to ensure proper operation. Clay soil movement is common in North Texas, so adjust the unit if settling has occurred over winter. Verify all mounting bolts are tight and secure, as vibration can loosen hardware over time. Look for any separation between the unit and electrical connections that may have developed from ground movement or settling.
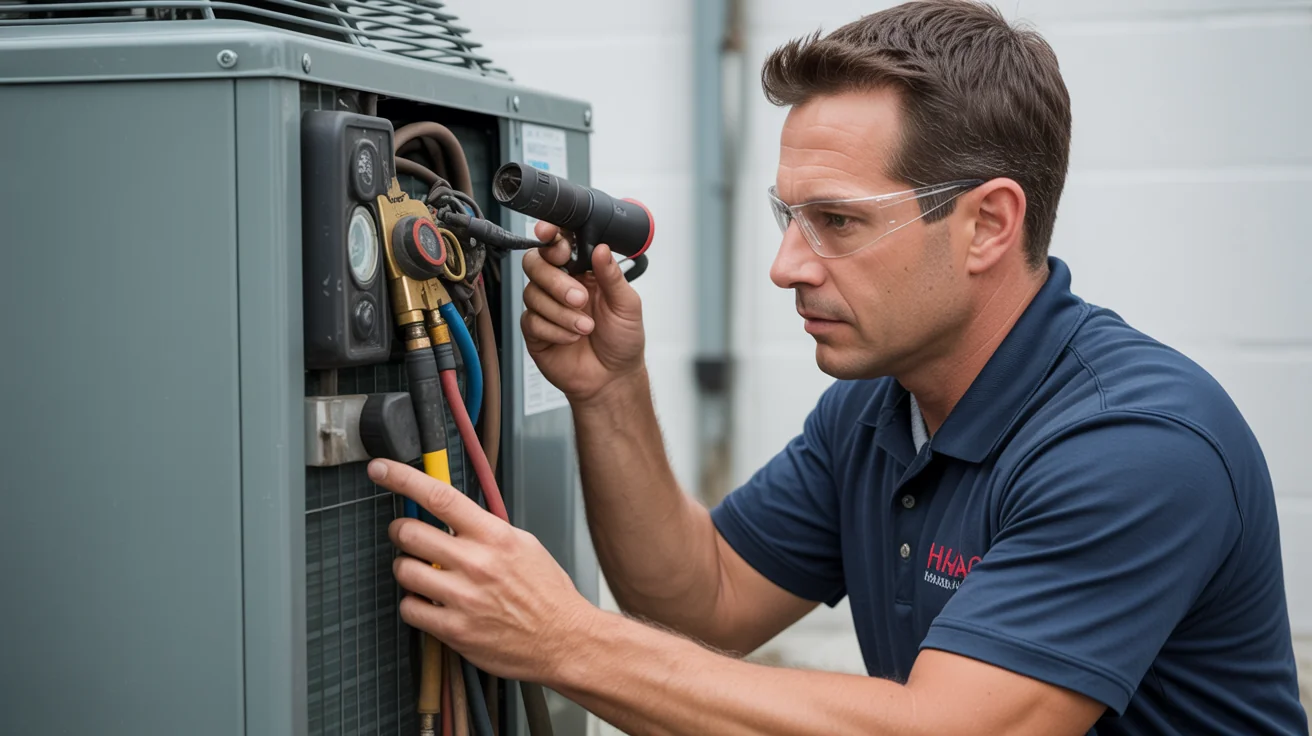
Step 2: Refrigerant Line Inspection (10 minutes)
Visual Inspection Points:
Check the insulation on the larger line (suction line) for any damage that may have occurred over winter. Look for oil stains around connections, which indicate refrigerant leaks that require immediate professional attention. Verify that line sets are properly secured to the house and haven’t come loose from weather or settling. Document any concerns with photos for your technician to help with diagnosis and repair planning.
Warning Signs Requiring Professional Service:
Oil or refrigerant stains around connections indicate leaks that require immediate professional service. Ice formation on lines during mild weather (see our frozen evaporator coil guide for emergency steps) signals serious system problems. Damaged or missing insulation reduces efficiency and can cause condensation problems. Loose or corroded electrical connections create safety hazards and can cause system failure.
Phase 2: Indoor System Preparation
Step 3: Air Filter Replacement (10 minutes)
Filter Selection for North Texas:
MERV 8-11 filters are recommended for most North Texas homes, providing excellent filtration without restricting airflow. Use MERV 13 or higher only on systems specifically designed for higher restriction, as they can reduce airflow and efficiency on standard systems. Check the size printed on the filter frame before purchasing replacements (common sizes include 16x25x1 and 20x25x1). Never run your system without a filter, as this allows dirt and debris to damage expensive components.
Installation Best Practices:
Note the airflow direction arrows on the filter frame to ensure proper installation for maximum efficiency. Ensure a tight fit with no gaps around the edges, as bypass air reduces filtration effectiveness. Mark your calendar for replacement, typically every 30-90 days depending on usage and local pollen levels. Keep spare filters in storage for quick changes during peak pollen season in North Texas.
Step 4: Indoor Unit and Ductwork Check (15-20 minutes)
Drain Pan and Line Inspection:
Check the condensate drain pan for standing water, which indicates a clogged drain line requiring attention. Clear the drain line with a wet/dry vacuum if you find standing water or slow drainage. Look for mold or unusual odors in the drain area, which can indicate moisture problems that affect indoor air quality. Verify the drain line slopes properly toward the exit point to ensure gravity drainage functions correctly.
Ductwork Quick Inspection:
Check accessible ductwork for disconnections that may have occurred from ground movement or settling. Look for new gaps or separations from winter freeze-thaw cycles that are common in North Texas. Verify all return air grilles are secure and unobstructed by furniture or debris for proper system airflow. Document any concerns with photos for professional follow-up during your maintenance visit.
Phase 3: Electrical System Check
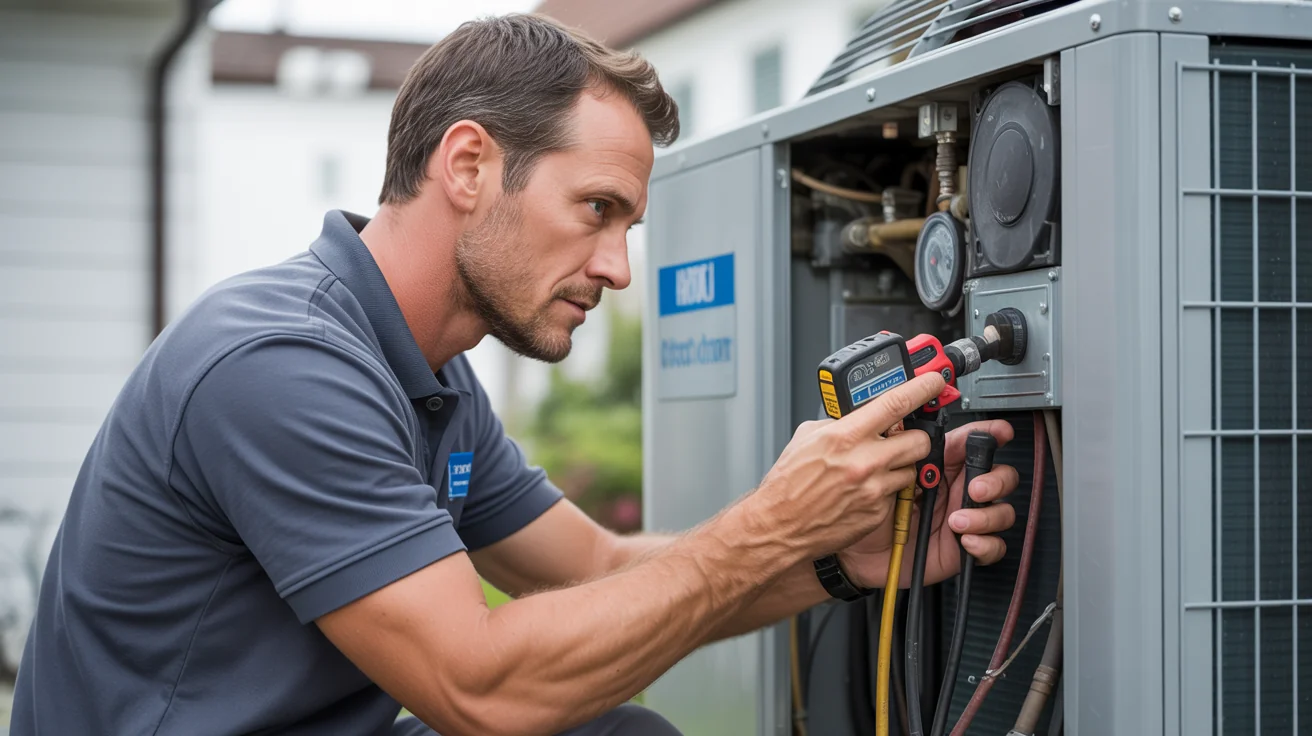
Step 5: Electrical Connection Inspection (15 minutes)
Outdoor Unit Electrical:
Conduct a visual inspection of electrical connections without touching any wiring for safety. Look for corrosion, loose wires, or damage from weather exposure that can cause system failures. Check that the disconnect switch operates smoothly and provides proper system isolation when needed. Verify weatherproofing remains intact around electrical entry points to prevent moisture intrusion and electrical problems.
Indoor Electrical Check:
Inspect visible wiring for damage from rodents or other causes that may have occurred over winter. Test GFCI outlets if present to ensure proper protection against electrical faults. Check thermostat wiring connections if you’re comfortable doing so, looking for loose or corroded connections. Look for any signs of overheating or burning that indicate serious electrical problems requiring immediate professional attention.
Safe System Startup Procedure
Starting Your AC System After Winter
Step 1: Power Restoration Sequence (5 minutes)
Proper Startup Order:
- Turn on breaker for outdoor unit
- Turn on breaker for indoor air handler
- Wait 5 minutes for system stabilization
- Install fresh batteries in thermostat
- Set thermostat to COOL, 2-3 degrees below room temperature
Step 2: First Operation Monitoring (30 minutes)
Listen for Normal Operation:
The outdoor unit should start within 5 minutes of the thermostat calling for cooling. Listen for smooth, consistent operation sounds that indicate normal system function. Watch for grinding, squealing, or banging noises that indicate mechanical problems requiring immediate attention. If any unusual sounds occur, shut off the system immediately and call for professional diagnosis to prevent further damage.
Monitor System Performance:
Expect cool air from vents within 10-15 minutes of system startup as the components reach operating temperature. Verify that all vents are producing adequate airflow without restrictions or blockages. Watch for ice formation on indoor or outdoor coils, which indicates serious problems (if ice forms, follow our emergency troubleshooting guide). Ensure steady operation without rapid cycling on and off, which indicates control or sizing problems.
Temperature and Airflow Check:
Supply air should measure 15-20°F cooler than return air for proper cooling performance. Verify strong, consistent airflow from all vents throughout the home for even temperature distribution. Check for hot spots or dead zones that may indicate ductwork or airflow problems. The system should maintain your set temperature without short cycling, which indicates proper sizing and control operation.
First Week Monitoring Protocol
Daily Checks (First 3 Days):
Monitor for unusual sounds or odors that may develop as the system reaches full operating condition. Check that the system maintains your set temperature without frequent cycling or temperature swings. Verify consistent airflow from all vents throughout the day as the system cycles on and off. Watch carefully for any ice formation on indoor or outdoor components that indicates refrigerant or airflow problems.
Weekly Checks (First Month):
Check air filter condition weekly during the first month, as startup can dislodge accumulated debris. Monitor utility bills for unusual increases that may indicate efficiency problems requiring attention. Test thermostat programming functions to ensure proper operation as outdoor temperatures change. Document any performance concerns or changes in operation for discussion with your HVAC technician.
North Texas Spring Maintenance Schedule
Related: Maintenance Schedule
March Preparation Tasks
Early March (Before First Hot Day):
Complete the full startup checklist before North Texas temperatures reach uncomfortable levels. Schedule professional tune-up service if needed, taking advantage of off-peak pricing and availability. Test emergency procedures with family members so everyone knows how to shut off the system if problems occur. Stock spare filters for the season to ensure you can maintain proper filtration during high-use periods.
Mid-March Actions:
Monitor first-week operation closely for any developing issues that need attention. Address minor issues found during startup before they become major problems in summer heat. Optimize thermostat settings for spring weather patterns to maximize efficiency and comfort. Plan summer efficiency upgrades if needed, taking advantage of spring scheduling and pricing.
Professional Service Timing
Schedule Professional Service If:
- System more than 3 years old
- Any unusual sounds or performance issues
- Previous season had multiple repair calls
- Energy bills significantly higher than expected
Optimal Service Window:
- March-April for best availability
- Avoid rush period (May-June)
- Take advantage of off-peak pricing
- Schedule annual maintenance agreement
Common Spring Startup Problems and Solutions
Electrical Component Failures
Capacitor Issues (35% of Spring Failures):
- Symptoms: Unit hums but doesn’t start, or starts then stops
- Cause: Winter temperature cycles stress capacitors
- Cost: $180-$380 repair
- Prevention: Annual electrical inspection
Contactor Problems (22% of Spring Failures):
- Symptoms: No response when thermostat calls for cooling
- Cause: Corrosion from humidity exposure
- Cost: $200-$420 repair
- Prevention: Weatherproof electrical connections
Refrigerant System Issues
Minor Leaks (18% of Spring Failures):
- Symptoms: System runs but doesn’t cool effectively
- Cause: Joint separation from foundation movement
- Cost: $350-$950 repair plus refrigerant
- Prevention: Annual leak detection service
Dirty Coil Problems (15% of Spring Failures):
- Symptoms: High energy bills, poor cooling performance
- Cause: Winter debris and pollen accumulation
- Cost: $200-$400 professional cleaning
- Prevention: Proper winter covering removal, regular cleaning
Ductwork Problems
Disconnected Ducts (10% of Spring Failures):
- Symptoms: Weak airflow, high bills, uneven temperatures
- Cause: Clay soil movement during winter freeze/thaw
- Cost: $300-$800 ductwork repair
- Prevention: Flexible ductwork installation, annual inspection
Emergency Preparedness and Response
When to Call for Emergency Service
Immediate Professional Service Required:
- Burning smell from any HVAC component
- Electrical sparking or unusual electrical sounds
- Refrigerant smell (sweet, chemical odor)
- Ice formation on indoor coils during mild weather
- Complete system failure during heat advisory
Emergency Response Protocol
Step 1: Immediate Safety (0-5 minutes)
- Turn off system at thermostat and breaker
- Evacuate area if electrical or gas odors present
- Document problems with photos if safe to do so
- Call Jupitair emergency line: (940) 390-5676
Step 2: Temporary Comfort Solutions (15-30 minutes)
- Close blinds and curtains to reduce heat gain
- Use fans to circulate air
- Stay hydrated and move to coolest area of home
- Prepare for technician arrival
Step 3: Professional Diagnosis (30-90 minutes)
- Licensed technician assessment and safety check
- Complete system diagnosis with written estimate
- Emergency repair options and pricing
- Temporary cooling solutions if needed
Cost-Effective Maintenance Strategies
DIY vs Professional Service
Homeowner Maintenance Tasks:
- Air filter changes (monthly during heavy use)
- Outdoor unit cleaning and debris removal
- Basic visual inspections and monitoring
- Thermostat battery replacement and programming
Professional Service Requirements:
- Electrical system inspection and testing
- Refrigerant level check and leak detection
- Motor lubrication and belt adjustments
- Safety control testing and calibration
Annual Maintenance Agreement Benefits
Jupitair Maintenance Agreement Includes:
- Spring startup and fall shutdown service
- Priority emergency service scheduling
- 15% discount on all repairs
- Extended warranty coverage on parts
Annual Cost Savings:
- Average repair cost reduction: $680/year
- Energy efficiency improvement: 10-20%
- Extended equipment life: 3-5 years
- Peace of mind during peak season
Spring Energy Efficiency Optimization
Thermostat Settings for North Texas Spring
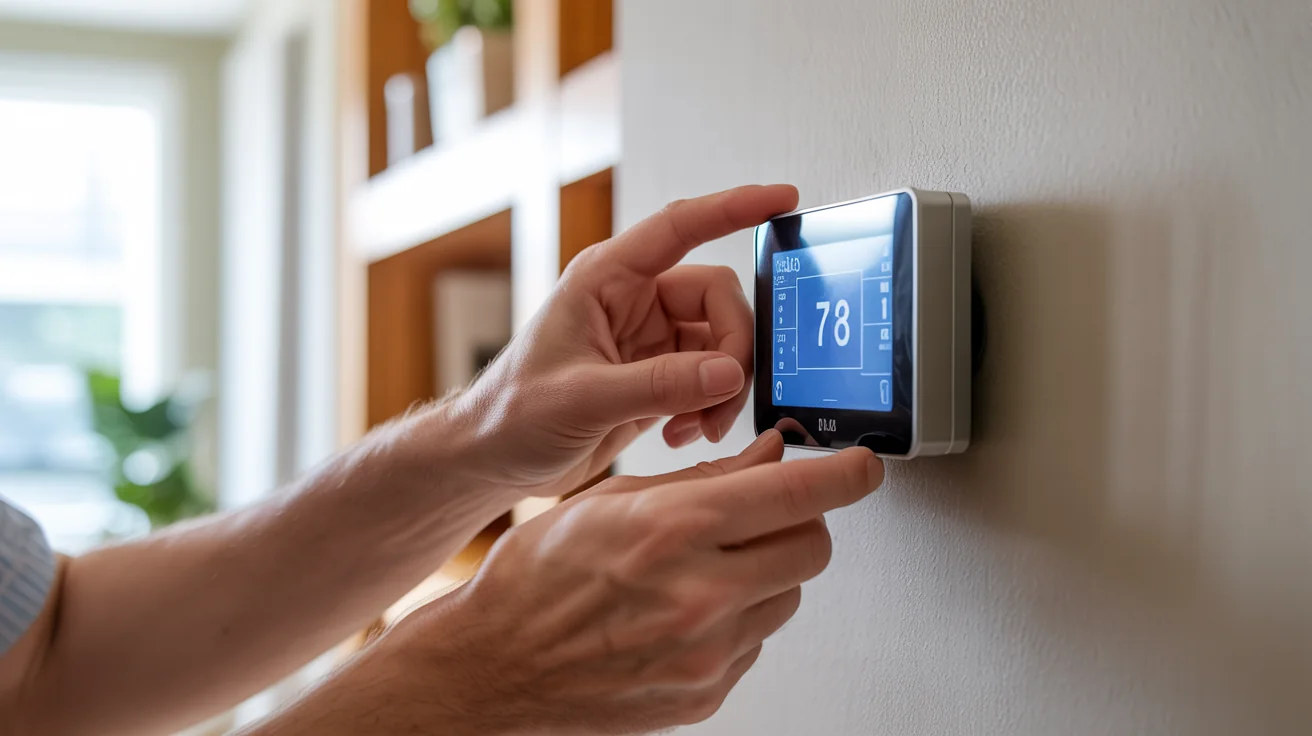
Optimal Temperature Settings:
- Home occupied: 78°F during day, 75°F evening
- Home unoccupied: 82°F (8-hour minimum away periods)
- Sleep settings: 76-78°F for comfort and efficiency Never set temperatures below 68°F during the initial startup period, as this can stress components after months of inactivity.
Smart Thermostat Programming:
Gradual temperature changes (2°F per hour maximum) prevent system stress and improve efficiency. Schedule based on actual occupancy patterns rather than default settings. Use humidity control features if available to improve comfort and efficiency. Enable maintenance reminders for filter changes and system service.
Consider upgrading to a smart thermostat for optimal spring startup and year-round efficiency.
System Efficiency Improvements
Immediate Efficiency Gains:
Seal air leaks around windows and doors to prevent conditioned air loss. Add insulation to accessible ductwork in unconditioned spaces. Install programmable or smart thermostat for optimized temperature control. Upgrade to high-efficiency air filters for better indoor air quality.
Long-term Efficiency Investments:
Ductwork sealing and insulation upgrade prevents energy loss in unconditioned spaces. Variable-speed blower motor installation improves comfort and reduces energy consumption. Zoning system for multi-story homes allows independent temperature control by area. Whole-house humidity control improves comfort while reducing cooling load.
Frequently Asked Questions
Q: How early should I start my AC system in spring? A: Start your system during the first mild day (65-75°F) to allow for safe testing and repair scheduling before emergency conditions arise. Never wait for the first hot day.
Q: Is it normal for my AC to smell musty when first started? A: Mild musty odors during the first few hours of operation are normal due to winter dust accumulation. Persistent or strong odors require professional inspection for mold or electrical issues.
Q: Should I clean my outdoor unit myself? A: Basic debris removal and gentle cleaning are safe DIY tasks. Avoid pressure washing or aggressive cleaning that can damage delicate coil fins. Professional deep cleaning is recommended annually.
Q: What if my system won’t start after following the checklist? A: Check all breakers, check thermostat settings, and make sure new batteries are installed. If system still won’t start, use our no cooling emergency checklist or call for professional diagnosis rather than attempting electrical repairs.
Q: How do I know if I need professional service during startup? A: Schedule professional service if your system is over 3 years old, had multiple issues last season, makes unusual noises, or doesn’t cool effectively during initial testing.
Q: What’s included in a professional spring tune-up? A: Professional service includes electrical testing, refrigerant level check, motor lubrication, safety control testing, ductwork inspection, and performance optimization specific to North Texas climate conditions.
Take Action for a Worry-Free Summer
Don’t let preventable AC failures ruin your North Texas summer. Following this complete startup checklist can save you thousands in emergency repairs while ensuring optimal comfort and efficiency.
Ready to prepare your system?
Call (940) 390-5676 to schedule professional spring service from experienced North Texas specialists. Download our checklist with print version available at jupitairhvac.com for convenient reference. Get maintenance agreement to save $680+ annually on repairs while ensuring priority service. Emergency service available 24/7 across Frisco, Plano, McKinney, and surrounding areas for immediate assistance.
The best emergency repair is the one you never need. Proper spring preparation make sures reliable cooling when North Texas temperatures soar.
Last updated: August 2025 | Based on 15+ years North Texas HVAC experience | Serving Frisco, Plano, McKinney, Allen, The Colony, Little Elm, and surrounding communities
Jupitair HVAC: Licensed & Insured, and locally owned. Over 50,000 successful installations and repairs across North Texas since 2008.
Continue Reading
Complete Your Spring Preparation:
- Summer AC Maintenance Schedule: Texas Heat - Follow up with complete summer maintenance after spring startup
- Pre-Summer Tune-Up - Professional preparation checklist for peak performance
- [Smart Thermostat Installation Guide North Texas](/blog/smart-thermostat-installation-guide-north-texas/) - Upgrade your control system for optimal efficiency
Emergency Preparedness:
- Frozen Evaporator Coil Emergency Guide - What to do when ice forms on your system
- No Cooling Today Checklist - Emergency troubleshooting when your AC won’t start
Need Professional Spring Service? Call (940) 390-5676 for expert spring AC startup service from certified North Texas technicians. Schedule AC Maintenance → for professional spring tune-up that prevents summer failures. Get Emergency Repair → for 24/7 service when problems arise during critical periods.
Need Professional HVAC Service?
Our certified technicians are ready to help with any HVAC needs in North Texas