Winter HVAC Preparation Guide
Prepare your HVAC system for North Texas winter. Furnace startup checklist, emergency prep, and steps for reliable heating all season.
- Why “Mild” North Texas Winters Destroy More Heating Systems
- The Perfect Storm of Equipment Failure
- Complete North Texas Winter HVAC Preparation Checklist
- Advanced Winter Preparation Strategies
- Humidity Control for Winter Comfort
- Emergency Preparedness for North Texas Weather Events
- Professional vs. DIY Winter Preparation
- What Homeowners Can Safely Handle
+ 25 more sections below...
Start prepping your North Texas heating system in September or October. Replace the filter, fire up the furnace to test it, swap out thermostat batteries, and book a professional tune-up ($149-299) before everybody else tries to. Here’s something most people don’t realize: North Texas sees more first-cold-snap heating failures than Minnesota. Your system has been sitting idle for eight months. That first heat cycle will probably smell a little dusty, and that’s fine. But if you smell gas or something burning? Shut it down immediately and call us. For winter, set your thermostat to 68-70°F when you’re home, 62-65°F when you’re out, 65-67°F for sleeping, and never below 55°F if you’re leaving town. That last one prevents freeze damage.
Why “Mild” North Texas Winters Destroy More Heating Systems
I’ve been running emergency heating calls for over 15 years now, and there’s a stat that blows people’s minds: North Texas has more heating system failures per capita during first cold snaps than Minnesota or Wisconsin.
Sounds backwards, right?
Think about it though. A family in Minnesota uses their furnace eight months out of the year. They know exactly how it sounds, what it smells like, when something’s off. Problems get caught early because the system never really stops. Our furnaces? They take an eight-month nap while we’re blasting AC. Dust piles up. Connections loosen. Things corrode quietly. Then one night in November it drops from 75 to 25 degrees and we flip that thermostat to heat expecting everything to work perfectly.
Spoiler: it doesn’t always cooperate.
The Perfect Storm of Equipment Failure
Your HVAC system works harder during one Texas summer than most equipment works in three years anywhere else. I’m talking seven months of fighting 105-degree heat, cycling between scorching afternoons and cooler nights, running at full tilt for months straight.
Then nothing. Complete shutdown from October to whenever the first real cold front rolls in. Dust blankets everything inside the unit. Electrical connections that got a little loose during summer vibration just sit there untested. A part that was barely hanging on in late September is totally shot by January.
And when that first blue norther hits? When we go from shorts weather to “where’s my heavy coat” in twelve hours? We ask perfection from a system that’s been sleeping since spring.
I’ve swapped out more heat exchangers, ignition systems, and blower motors during North Texas freeze warnings than I ever did during full heating seasons when I worked out in Colorado. That still surprises people.
What makes our climate so rough on equipment:
- We get temperature swings that would make meteorologists in other states nervous. 70°F to 25°F in a single day is not unusual.
- Ice storms can encase your outdoor unit like a frozen sculpture
- Humidity swings create the perfect recipe for corrosion and electrical failures
- You might genuinely need heat on Tuesday and AC on Friday. I’ve seen it happen dozens of times.
How equipment actually wears down here:
- Heat exchangers develop hairline cracks from summer heat stress that nobody notices until winter
- Gas valves get stuck because they haven’t moved in months
- Ignition systems choke on accumulated dust
- Blower motors that barely survived summer just can’t handle winter startup
Complete North Texas Winter HVAC Preparation Checklist
Phase 1: Safety and Initial Inspection (30 minutes)
Safety first. Always.
- Kill the electrical power at the main panel AND the unit disconnect. Both.
- Turn off the gas supply at the furnace gas valve. Quarter turn so the handle is perpendicular to the pipe.
- Get down there and sniff around the unit and gas lines for any gas smell
- Look for physical damage from summer storms or foundation settling
- Make sure nothing’s been stacked within 3 feet of the unit. I can’t tell you how many times I find holiday decorations or storage boxes crammed right up against a furnace.
What to look at during your visual inspection:
Check the heat exchanger for any visible cracks or rust. This is the big one. A cracked heat exchanger can leak carbon monoxide, and that’s not something you want to mess around with. Look at gas line connections for corrosion or anything that looks damaged. Inspect the electrical connections for any signs of burning, melted wire insulation, or loose terminals. Make sure the vent pipe is intact and sloped correctly so exhaust gases go where they’re supposed to. And check that condensate drain while you’re at it. A clogged drain can cause water damage and weird humidity issues in your house.
Phase 2: Filter and Airflow Systems (45 minutes)
The filter swap is the single most important thing you can do.
After a full summer of operation, your filter is packed with allergens, dust, pet hair, and whatever else was floating around your house from April through September. A clogged filter chokes your furnace. It’s working harder, burning more energy, and the heat isn’t getting distributed properly.
Here’s how to do it right:
- Pull out the old filter. Snap a photo first so you remember which direction it was facing.
- Measure the actual dimensions. Don’t just guess “it’s a 20x25.” I’ve seen so many wrong-sized filters jammed in there.
- For North Texas, grab a MERV 8 to 11. That range handles our dust and allergens without being so restrictive that it strangles airflow.
- Slide the new one in with the airflow arrow pointing toward the unit
- Write today’s date on the edge of the filter with a Sharpie. You’ll thank yourself later.
While you’re at it, check your ductwork.
Walk around and look at every piece of visible ductwork for gaps or sections pulling apart. Thermal expansion does a number on duct connections over the years. Seal any gaps with duct mastic or metal tape (not the gray fabric stuff they call “duct tape” at the hardware store, that actually falls apart in heat). Open up all your register dampers in the rooms you want heated. And pull any furniture or curtains away from vents. You’d be amazed how many service calls turn out to be “there was a couch covering the main return.”
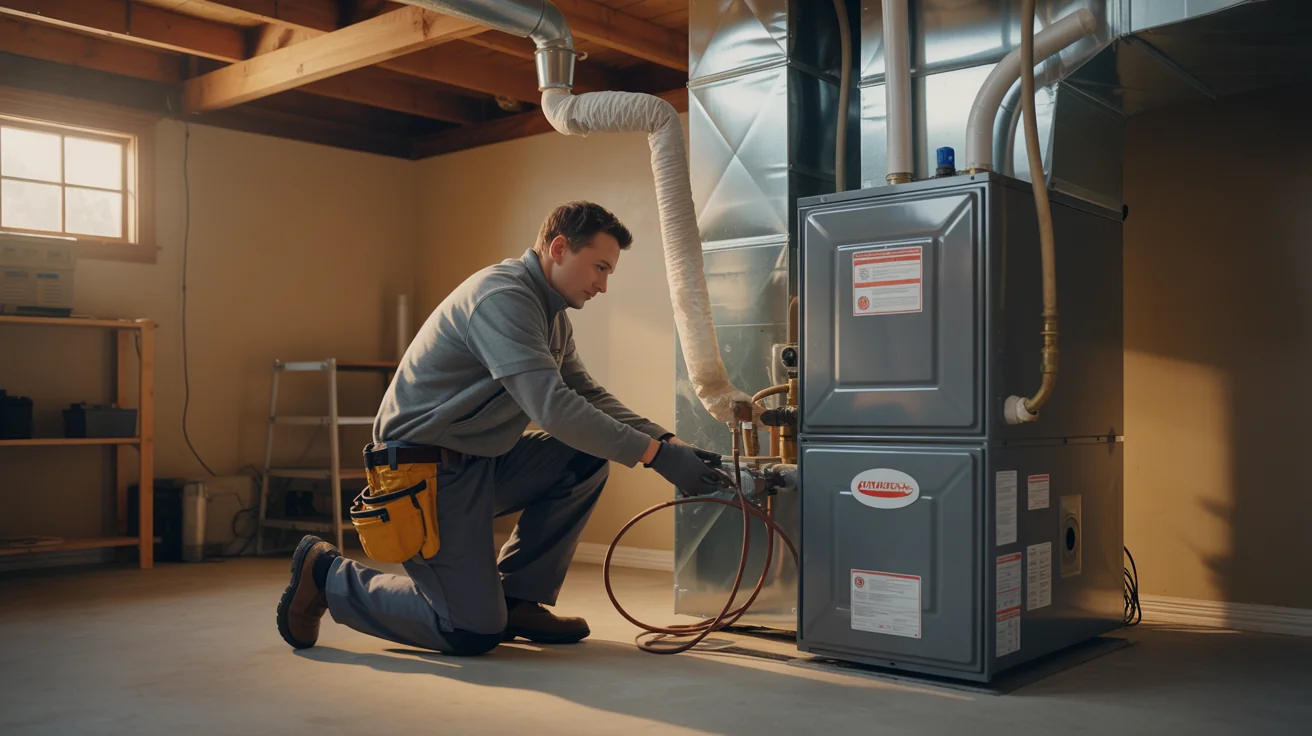
Phase 3: Furnace Startup and Testing (60-90 minutes)
Time to wake the beast up. Take it slow.
Step 1: Get everything powered back up
Flip the breaker back on and turn on the disconnect switch. Set your thermostat to OFF first. You don’t want the system firing up while you’re still poking around. Turn the gas valve back on, handle parallel to the pipe. Then wait. Give it a solid five minutes for gas to reach the burners and pressure to stabilize.
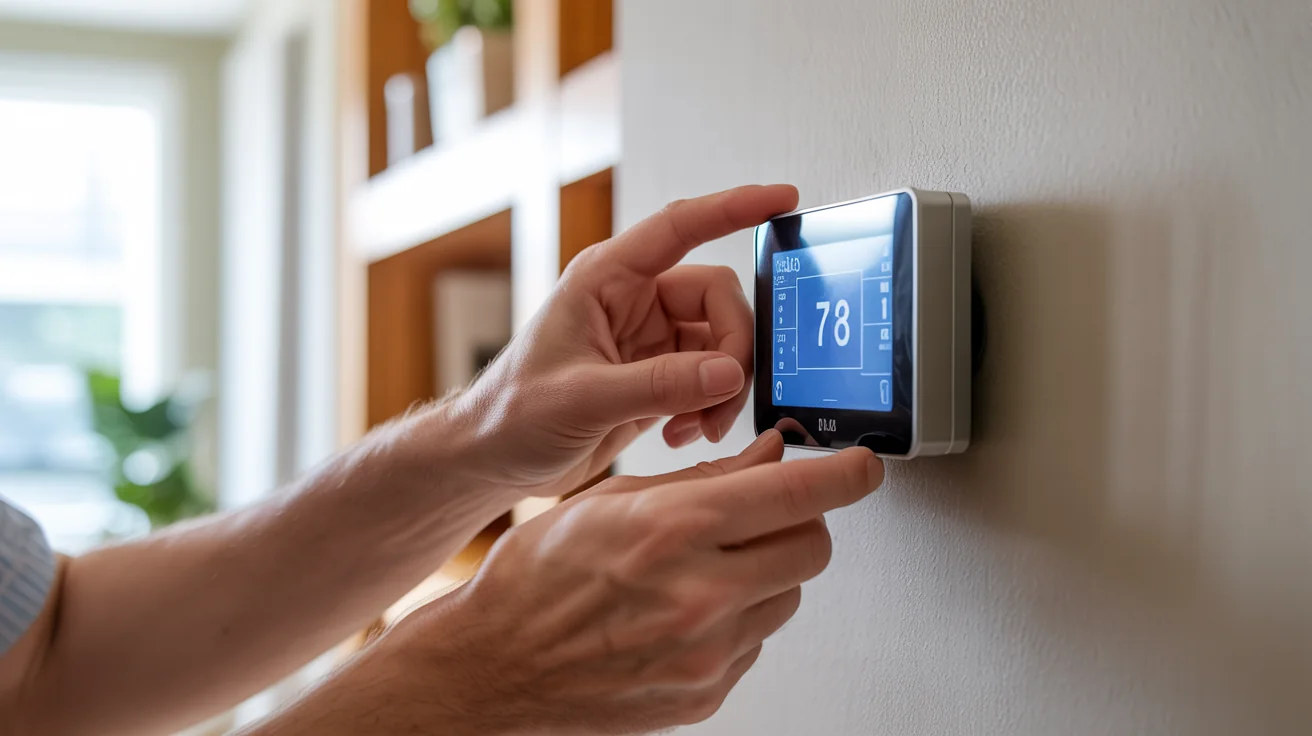
Step 2: Set up the thermostat
If you’ve got a programmable thermostat, put fresh batteries in right now. Don’t wait until they die at 2 AM on the coldest night of the year. (Happens more than you’d think.) Switch to HEAT mode and set it 5 degrees above whatever the room temperature reads. This forces the system to kick on. Make sure the display looks right and the temperature reading matches what you’d expect. Set the fan to AUTO.
Step 3: The first heat cycle
This is the moment of truth. You should hear the ignition sequence start within about 60 seconds. What you’re listening for: the draft motor spins up first, then you’ll hear the gas valve click, the igniter fires, and the main burners light up. That’s the normal sequence. Let it run for 10 to 15 minutes. Don’t panic about a slight dusty smell during the first couple of cycles. That’s just months of accumulated dust burning off. Warm air should start coming out of the registers within 3 to 5 minutes of the burners lighting.
Step 4: Make sure it’s actually working right
If you’ve got a thermometer, check the temperature of the air going into the furnace versus what’s coming out. You want to see a 35 to 70 degree rise. Walk through the house and check different registers. They should all be blowing warm. Let the system reach the temperature you set and verify it shuts off properly. And just listen. Any banging, screeching, or rattling means something needs attention.
Phase 4: Heat Pump Specific Preparation (Texas Climate Advantage)
Heat pumps are actually fantastic for North Texas winters. Most of our winter days stay well above the temperatures where heat pumps struggle. But they do need some specific attention before the season.
Getting your heat pump winter-ready:
Clean the outdoor coil thoroughly. A whole summer of grass clippings, cottonwood fluff, and leaves cuts into your heat transfer. Have a tech check your refrigerant levels because winter efficiency depends heavily on proper charge. Test the defrost cycle. When it gets cold enough for ice to form on the outdoor coil, the system needs to know how to melt it off. Verify that auxiliary heat kicks in properly when temps drop below 35°F. And make sure the outdoor unit is still level. Settling happens, and a tilted unit vibrates more and wears out faster.
Don’t forget the backup heat strips:
Test those electric heating elements by monitoring their amp draw. Make sure the staging works right, meaning the heat pump runs first and the strips only come on as backup. Look at the electrical connections for any corrosion or darkening. And check your thermostat settings. A lot of folks have their auxiliary heat set to kick in way too early, which runs up the electric bill for no reason.
Advanced Winter Preparation Strategies
Related: Winter Preparation
Humidity Control for Winter Comfort
Your house gets dry. Really dry.
Running the furnace constantly sucks moisture out of the air. I’ve measured homes in January at 15% relative humidity. That’s drier than the Sahara desert, and I’m not exaggerating. You’ll notice it. Static shocks every time you touch a doorknob. Dry skin. Cracked lips. Wood furniture starting to split.
What actually helps:
- A whole-home humidifier tied into your ductwork is the best solution. Set it and forget it.
- Aim for 30-40% relative humidity through the winter
- Don’t overdo it though. Too much humidity means condensation on windows, and that leads to mold.
- If you already have a humidifier, clean it and replace the pad before heating season. Old pads get crusty with mineral deposits and stop working.
Emergency Preparedness for North Texas Weather Events
After Uri in 2021, nobody needs convincing on this one anymore.
Ice storm prep:
- Get a backup power source for your heating system. Even a portable generator can keep a furnace running.
- Have a 72-hour plan for how you’ll heat your home if the power goes out
- Keep a couple spare filters and basic repair supplies on hand
- If you’ve got a big house, know which rooms you’d close off and which one becomes the “warm room”
Preventive maintenance schedule that actually works:
- September: Take a first look. Order filters. Get on the schedule.
- October: Full furnace startup and professional service
- December: Quick mid-season check. How’s it running? Any weird noises?
- February: Wrap-up assessment and start thinking about AC season
Professional vs. DIY Winter Preparation
What Homeowners Can Safely Handle
You don’t need a tech for everything. Here’s what you can handle yourself:
- Swapping the filter. Seriously, just do it.
- Replacing thermostat batteries and setting up your winter schedule
- Looking over accessible components for obvious problems
- Checking that air is actually flowing from all your registers
- Running through the startup process I described above
When to Call Professional Service
Some stuff you should leave to us:
Gas line inspection and leak testing isn’t a DIY job. Neither is checking a heat exchanger for cracks. You can’t see micro-fractures without specialized equipment, and missing one could put your family at risk from carbon monoxide. Electrical testing, combustion analysis, anything involving refrigerant on a heat pump - call a professional. It’s not worth the risk, and honestly, you probably don’t have the tools anyway.
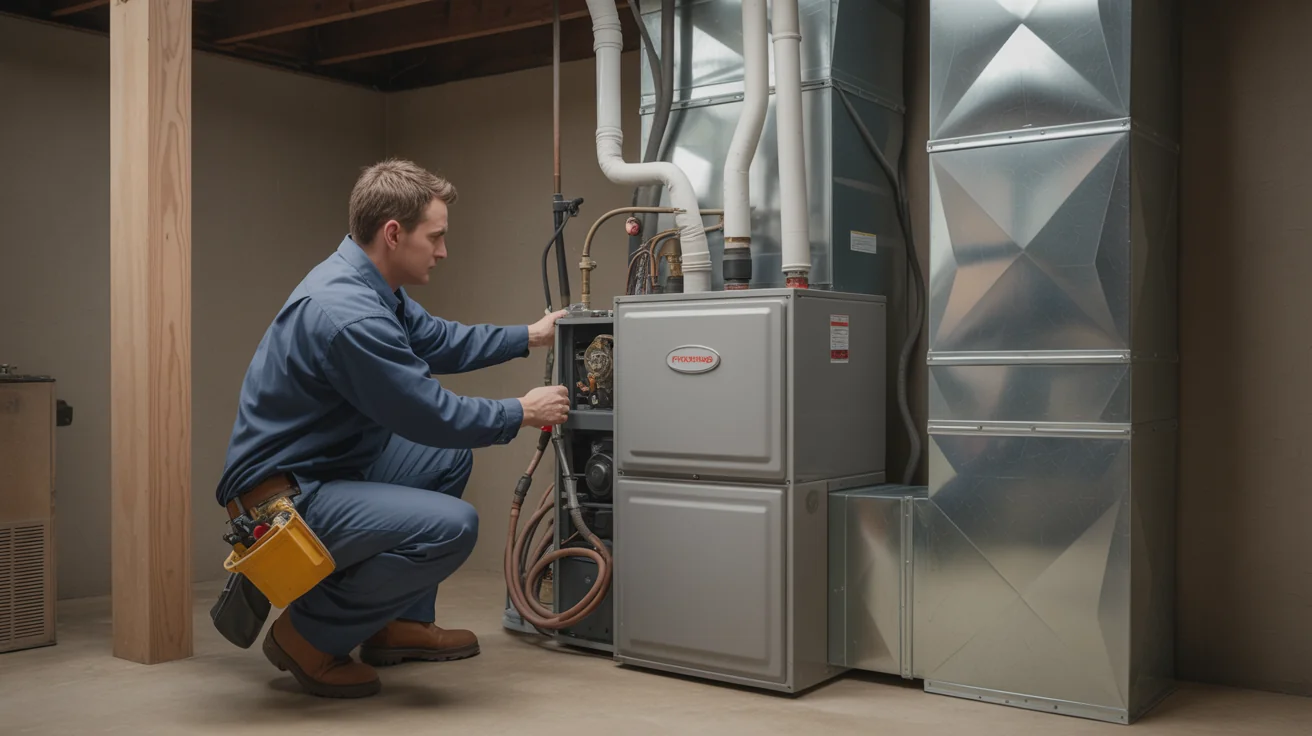
What we do during a winter prep visit:
- Full gas system safety check
- Heat exchanger inspection with our electronic detection tools
- Combustion analysis to measure efficiency and safety
- Tighten every electrical connection (they loosen more than people realize)
- Lubricate the blower motor and check the belt
- Inspect the entire vent system
- Calibrate the thermostat and optimize your programming
Regional Considerations for North Texas Cities
Dallas-Fort Worth Metro Specific Challenges
Living in the metro adds a few wrinkles:
The urban heat island effect means your equipment ran even harder during summer than equipment in surrounding areas. More heat stress, more wear. Air quality in the metro tends to be worse too, so filters need changing more often. And during extreme cold snaps, the electrical grid gets strained. We all remember what that looks like.
My recommended timeline for metro homeowners:
- Early September: Walk around the unit, assess what you’re looking at
- Late September: Get the new filter in, do the basic cleanup
- Early October: Professional service. Don’t wait on this one.
- Mid-October: Final testing and tweaking before the first cold front
Frisco, Plano, and Allen Winter Preparation
Serving Frisco and surrounding areas. Serving Plano and surrounding areas. Serving Allen and surrounding areas.
Newer construction has its perks:
A lot of homes in these cities are less than 15 years old. That means more efficient equipment, better insulation, and usually smart thermostats already installed. Your prep is a bit simpler, but you still need to do it.
What to focus on:
- Keep up with manufacturer-required maintenance so your warranty stays valid. I’ve seen people void a warranty on a 3-year-old system because they skipped annual service.
- Make sure your smart thermostat is actually programmed for winter. Most people set it once and never touch it again.
- Preventive care now extends the life of that newer equipment by years
McKinney, Prosper, and The Colony Considerations
Serving McKinney and surrounding areas. Serving Prosper and surrounding areas. Serving The Colony and surrounding areas.
More variety in the housing stock out here:
You’ve got everything from 1980s ranch homes to brand new construction, sometimes on the same street. Older homes need more attention. The ductwork might be original, insulation could be thin, and systems are often mismatched from years of partial upgrades.
How I’d approach it:
- Older systems get a thorough inspection. No shortcuts.
- This is actually a good time to talk about upgrades. If your furnace is 18 years old and limping along, maybe a fall replacement makes more sense than another repair.
- Some areas still have propane systems or well water, and those need specific attention that’s different from standard natural gas setups
Cost-Benefit Analysis of Winter Preparation
Investment vs. Savings Breakdown
Professional winter prep costs $149-299. Here’s what that gets you:
- A tech goes through your entire system for safety issues
- We optimize performance so it runs efficiently all season
- We catch small problems before they become expensive ones
- Your heating bill stays lower than it would otherwise
Here’s what it costs when you skip it:
Emergency service calls run $350-850 each. Replacing parts during peak season costs 30-50% more because demand is through the roof and supply houses know it. Running an inefficient system wastes $200-500 in extra energy per season. And neglected maintenance causes damage that runs $1,200-3,500 to fix.
The math works out to a 300-800% return on investment. You spend $200 on prep and avoid a $1,500 problem. You save 15-25% on energy. You get 3-5 extra years out of your equipment. I don’t know many investments that return that well.
Seasonal Transition Best Practices
Timing Your Winter Preparation
When to do what:
September: Take stock of where you’re at. Call and get on the schedule for professional service before every HVAC company in DFW is booked solid. Order your filters. Maybe buy two, so you’ve got a spare for mid-winter. Start mentally transitioning from cooling mode.
October: This is go time. Get the professional service done. Do your first test run of the heating system. Program the thermostat for winter. If the tech found anything that needs fixing, get it handled now. Not later. Now.
November: Your system should be running well by this point. Keep an ear on it during those first real cold snaps. Fine-tune your thermostat settings based on how the house actually feels, not just what the numbers say. If you haven’t finished everything from October, wrap it up before Thanksgiving.
System Transition Strategies
Going from cooling to heating smoothly:
- Don’t slam your thermostat from 74 to 70 heat all at once. Ease into it. Let the system adjust.
- Pay attention during those first few heating cycles. Weird noise? Smell? Call it in early.
- Indoor humidity drops fast once the heat runs. Consider humidification if your skin is cracking.
- You might need to adjust registers. Heating and cooling distribute differently since warm air rises and cool air sinks.
Energy Efficiency Maximization for Winter
Related: Energy Efficiency
Thermostat Programming for Texas Winter
The settings I recommend to every customer:
When you’re home: 68-70°F. That’s the sweet spot between comfort and not burning money. When you leave for work: drop it to 62-65°F. Sleeping: 65-67°F works for most people, and you’ll sleep better in a slightly cooler room anyway. Going on vacation: never below 55°F. I don’t care if you’re trying to save money. Below 55 and you’re risking frozen pipes, and frozen pipes cost a lot more than a heating bill.
If you have a heat pump, the rules change a bit:
- Don’t set it back more than 3 degrees at a time. Big setbacks trigger the auxiliary heat strips, and those are expensive to run.
- Gradual changes keep the heat pump in its efficient range
- Program a changeover temperature, usually around 35-40°F, where auxiliary heat kicks in automatically
Insulation and Air Sealing Impact
Your furnace is only as good as the house it’s heating:
- Adding attic insulation is probably the single best thing you can do. 20-30% reduction in heating costs, easily.
- Air sealing the gaps around windows, doors, plumbing penetrations, and electrical outlets cuts heating load by 15-25%
- Good window treatments and weatherstripping add another 5-10%
- Do it all together and you’re looking at 30-50% less energy needed. Your system runs less, lasts longer, and your house is way more comfortable.
Troubleshooting Common Winter Startup Issues
Related: Troubleshooting
Furnace Won’t Start Issues
The three things I see on almost every winter service call:
1. Thermostat problems (about 40% of our calls):
This is the embarrassing one, but it happens to everybody. Dead batteries. Still set to “COOL” mode from summer. Programming got wiped during a power flicker. I once drove 45 minutes to a house in McKinney where the thermostat just needed two AA batteries. No shame in it, but check this first.
What to try:
- Fresh batteries. Right now.
- Make sure it’s set to HEAT, not COOL or OFF
- Verify the set temperature is actually above room temperature
- Try the manual override button
2. Ignition system issues (about 35% of calls):
If you have an older system with a standing pilot light, it’s probably blown out after sitting all summer. Newer systems with electronic ignition can get clogged with dust and debris. Gas valves stick from months of disuse. And flame sensors get a film of dust on them that prevents the system from recognizing the flame.
What to try:
- Check if you have gas flowing (other gas appliances working?)
- If you can reach the flame sensor, clean it gently with fine steel wool or a dollar bill. Yes, really. That thin abrasive is often enough.
- Listen for the click-click-click of the igniter trying to fire
- If you hear clicking but no flame, that’s usually a gas valve issue. Call us.
3. Airflow problems (about 25% of calls):
Clogged filter from summer. Something blocking a return vent. Ductwork that came apart in the attic. Blower motor that took a beating during summer and doesn’t have enough juice left for winter.
What to try:
- Change that filter. I know I keep saying it. Because it keeps being the problem.
- Walk through the house and check every single vent and return
- If you can get in the attic, look at the ductwork for obvious disconnections
- If the blower sounds weak or makes grinding noises, that’s a motor issue. Call a pro.
Emergency Heating Strategies for North Texas
Power Outage Heating Solutions
When the grid goes down, you need a plan.
A generator that can handle your furnace needs to be 3,500 to 7,500 watts depending on the system. Get a proper transfer switch installed. Backfeeding through an outlet is illegal and dangerous. Keep fuel on hand during winter months. And test that generator once a month. The worst time to discover it won’t start is when you actually need it.
Other ways to stay warm without power:
- If you’ve got a fireplace, have the chimney cleaned before winter. A dirty chimney is a fire hazard.
- Space heaters work but respect the electrical capacity of your circuits. Don’t plug three space heaters into one outlet.
- Pick one room as your emergency warm room and close off the rest of the house
- Propane heaters are an option but you absolutely must have ventilation. Carbon monoxide kills.
Freeze Protection Strategies
Keeping things from freezing when it gets bad:
Never let your home drop below 55°F during an extended absence. That’s the floor. Insulate any exposed pipes, especially in the attic, garage, or exterior walls. Know where your main water shut-off valve is and make sure you can turn it. If your heating system fails completely and you can’t get it fixed quickly, shut off the water and drain the pipes. It’s a pain, but it’s cheaper than flood damage.
Professional Service Scheduling and Selection
Choosing the Right Service Provider
What to look for when you’re picking someone:
NATE certification matters. It means the tech actually passed a complete exam. Check for a valid Texas TACLA license. Ask about manufacturer certifications if you have a specific brand. Read reviews, but read the detailed ones, not just star counts. And make sure they carry proper insurance. If an uninsured tech damages your equipment or gets hurt on your property, that’s your problem.
What a good service visit should include:
- A written checklist they go through, not just “looks good”
- Actual measured results from performance testing
- Priority service agreements for winter emergencies
- Maintenance plan options with clear pricing
- Straight talk about what needs attention and what can wait
Maintenance Plan Benefits for Winter Preparation
Why a maintenance plan is worth considering:
You get priority scheduling. When it’s 20 degrees and everybody’s calling, plan members go to the front of the line. You get discounted rates on repairs. Extended warranty coverage on the equipment we service. Emergency service priority. And we track your system’s performance over time, so we can spot trends before they become failures.
A typical plan covers:
- Two visits a year: fall prep and spring maintenance
- All routine maintenance during those visits
- Priority scheduling when you need emergency help
- Discounts on parts and labor for repairs
- Performance and satisfaction guarantees
Frequently Asked Questions
Q: When should I start preparing my heating system for winter? A: September. I know that feels early when it’s still 95 degrees outside, but it gives you time to find problems and fix them before you actually need heat. The first cold snap usually shows up late October or November, and by then every HVAC company is slammed.
Q: How often should I change my filter during heating season? A: Check it monthly. Hold it up to a light. If you can’t see through it, swap it out. Most North Texas homes need a change every 1-3 months depending on pets, dust, and how tight the house is. If you’ve got three dogs and carpet, check it every month.
Q: Is it normal for my heating system to smell during first startup? A: A dusty smell? Totally normal. That’s months of accumulated dust burning off the heat exchanger and burners. Should go away after a cycle or two. But if you smell rotten eggs (gas), something acrid or chemical, or see smoke? Turn it off. Open windows. Call us or the gas company.
Q: Why is my heat pump running constantly during cold weather? A: That’s probably normal. Heat pumps don’t work in bursts like a furnace. They run low and slow. During a real cold snap they may run almost continuously. That’s fine. But if your house isn’t getting warm, the auxiliary heat should be kicking in when temps drop below 35°F. If it’s running nonstop and you’re still cold, something’s wrong.
Q: Should I service my heating system if I rarely use it? A: Honestly? That makes it MORE important, not less. Systems that sit dormant collect dust on the burners, develop corrosion from humidity exposure, and have components that degrade from disuse. It’s like a car that’s been parked for a year. You wouldn’t just turn the key and hit the highway without checking a few things first.
Q: How can I reduce my heating costs this winter? A: The biggest bang for your buck is proper maintenance plus smart thermostat programming. Keep it at 68-70 when you’re home, drop it when you leave. Change filters regularly. And if your house is drafty, invest in weatherstripping and attic insulation. All together, you can cut heating costs 15-30%. Professional optimization helps too because we can tune things you can’t see or measure yourself.
Take Action: Schedule Your Winter HVAC Preparation
Don’t wait until you’re shivering to find out something’s wrong with your furnace. Every year I get calls from people on the coldest night of the year who say “I should have done this in October.” They’re not wrong.
Ready to get your heating system squared away? Call (940) 390-5676 and we’ll get you on the schedule. You can also book online at jupitairhvac.com/contact. Ask about our maintenance plans if you want priority service and peace of mind all season long.
Service Coverage Areas
Jupitair HVAC provides winter preparation services throughout North Texas including: Frisco and Plano (our priority service areas). McKinney, Allen, and The Colony. Prosper, Little Elm, and Addison.
- Plus all surrounding communities within our service area
Winter HVAC prep isn’t glamorous, but it keeps your family warm and safe when it matters most. Give us a call if you want it done right.
Jupitair HVAC - Licensed and Insured HVAC Contractor serving North Texas since 2008.
Sources & References
The winter preparation procedures, safety guidelines, and maintenance recommendations in this article are based on the following authoritative sources:
- U.S. Department of Energy - Furnace Maintenance - Heating system preparation and maintenance
- ENERGY STAR Heating Tips - Winter energy efficiency recommendations
- EPA Indoor Air Quality - Combustion safety and ventilation guidelines
- Consumer Product Safety Commission - Carbon monoxide safety and detector requirements
- NOAA Winter Weather - North Texas winter weather patterns and preparation
Last Updated: January 2026
Need Professional HVAC Service?
Our certified technicians are ready to help with any HVAC needs in North Texas