How to Prepare Your AC for Texas Summer (Spring Checklist)
Complete spring AC maintenance checklist for North Texas homeowners. Step-by-step guide to prepare your AC for summer heat, save on energy bills, and avoid emergency breakdowns.
- Why Spring Is the Only Time to Get This Right
- Step 1: Replace Your Air Filter (5 Minutes, $8-$25)
- Step 2: Clean the Outdoor Condenser Unit (20 Minutes, Free)
- Step 3: Flush the Condensate Drain Line (10 Minutes, Free)
- Step 4: Test-Run Your System Before You Need It
- Step 5: Check Your Thermostat and Programmable Settings
- Step 6: Inspect Ductwork and Vents (15 Minutes, Free)
- Step 7: Schedule a Professional Tune-Up ($89-$199)
+ 4 more sections below...
Quick Answer: The best time to prepare your AC for summer in North Texas is mid-March through April, before the rush hits. Start with a filter swap, clean the outdoor unit, flush the condensate drain, and test-run the system. Budget $89-$199 for a professional tune-up, or handle the DIY steps below for free. Either way, don’t wait until May. By then, every HVAC company in DFW is booked solid.
Why Spring Is the Only Time to Get This Right
Every June, my phone rings off the hook. Same story: homeowner flips the AC on for the first time since October, and nothing works. Or worse, it runs for three days and then dies on the hottest weekend of the year.
Here’s what most people don’t realize. Your AC sat dormant for months. Capacitors weaken when they’re not in use. Contactor points corrode. Condensate lines grow algae. Dirt packs onto the coils. All of that happened while your system was “resting” through winter.
In North Texas, we get maybe a 6-week window (mid-March through April) where temperatures are mild enough to test your system without needing it for survival. That window is your golden opportunity.
If you schedule a professional AC maintenance visit during this period, you’ll get faster scheduling, lower prices, and the technician’s full attention. Try calling in June when it’s 104°F and everyone in Frisco needs help at the same time. Completely different experience.
Step 1: Replace Your Air Filter (5 Minutes, $8-$25)
This is the single most impactful thing you can do. A clogged filter restricts airflow, forces your system to work harder, and drives up your electric bill by 5-15%.
How to do it:
- Turn off your HVAC system
- Locate the filter (usually in the return air grille or at the air handler)
- Slide the old filter out and check it. Hold it up to a light source. If you can’t see light through it, it’s overdue
- Note the size printed on the frame (something like 20x25x1)
- Insert the new filter with the arrow pointing toward the air handler (in the direction of airflow)
What filter to buy:
| Filter Type | MERV Rating | Cost | Best For |
|---|---|---|---|
| Basic fiberglass | MERV 1-4 | $3-$5 | Rental properties, minimal filtration |
| Pleated | MERV 8-11 | $8-$15 | Most North Texas homes (my recommendation) |
| High-efficiency | MERV 13+ | $15-$25 | Allergy sufferers, homes near construction |
I recommend MERV 8-11 for most of my customers. Higher isn’t always better. MERV 13+ filters can actually restrict airflow on older systems that weren’t designed for that level of resistance. If you have a system installed before 2015, stick with MERV 8-11 unless your technician specifically approves a higher rating.
North Texas spring means cedar, oak, and ragweed pollen. During March and April, check your filter every two weeks instead of monthly. You’ll be surprised how fast it clogs during allergy season.
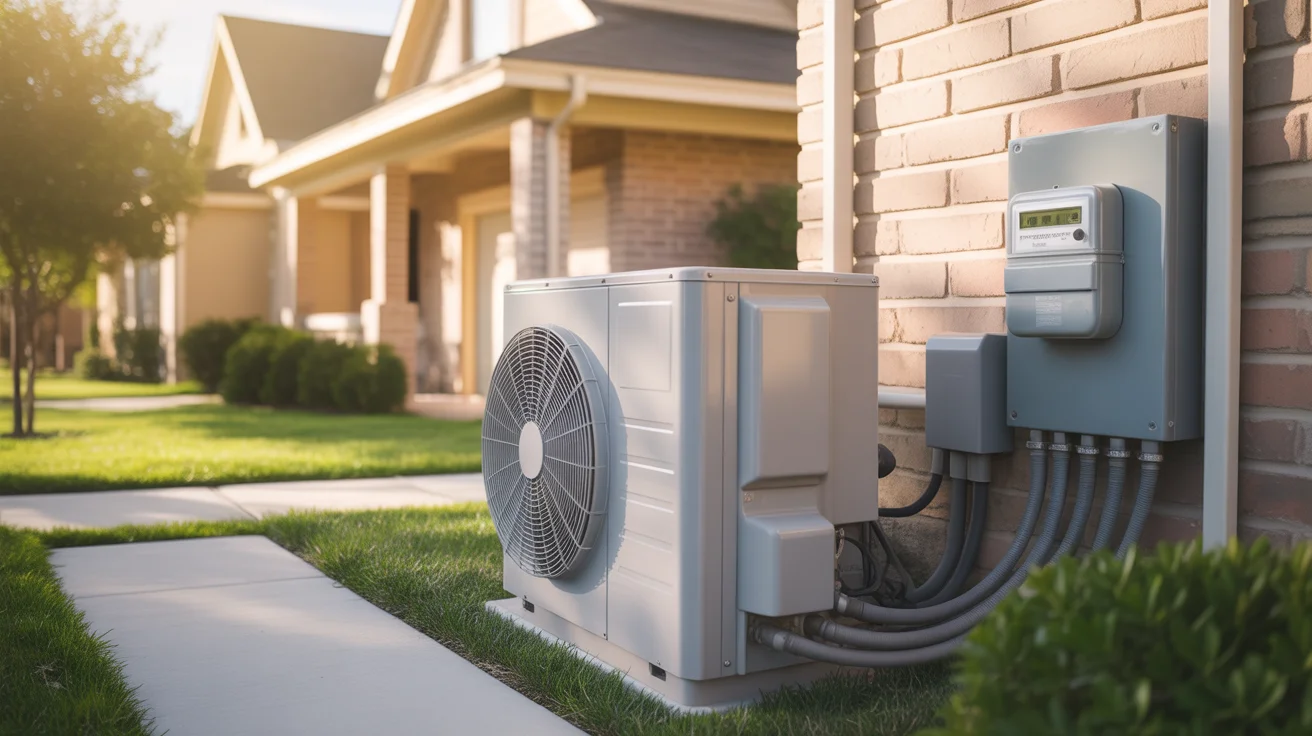
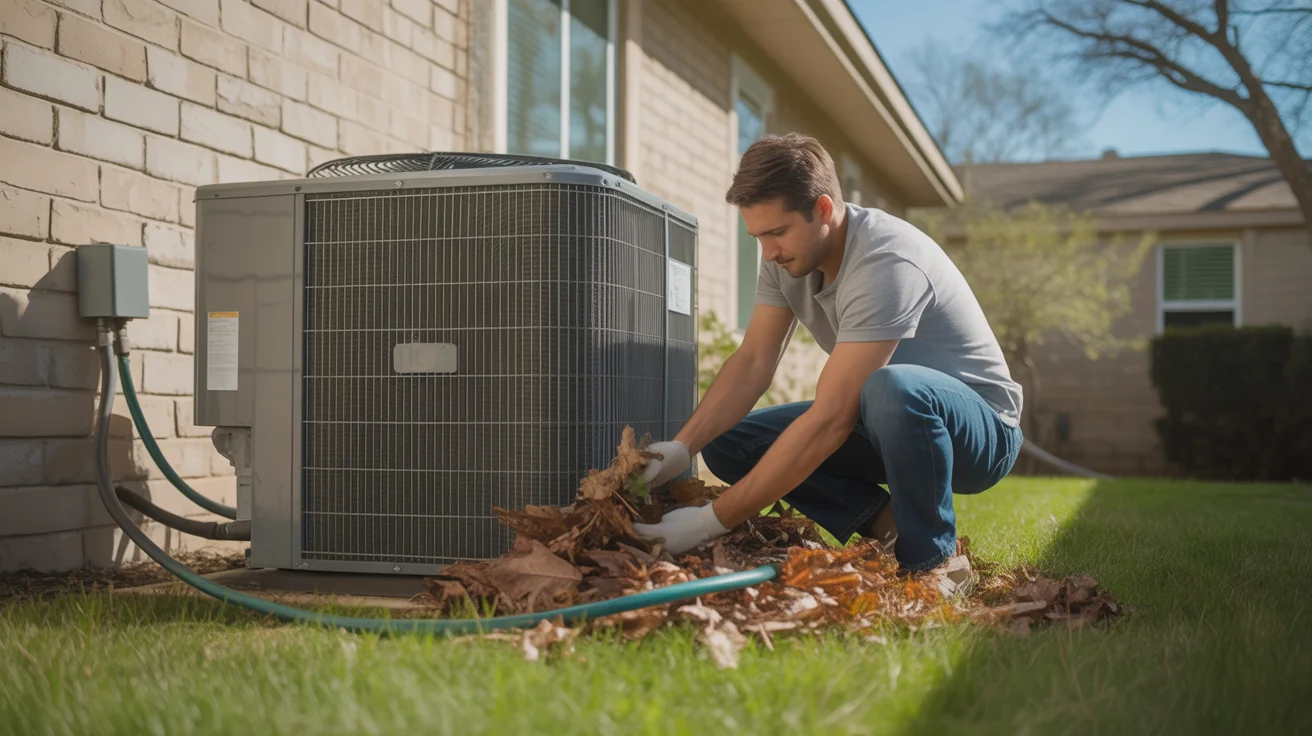
Step 2: Clean the Outdoor Condenser Unit (20 Minutes, Free)
Your outdoor unit spent all winter collecting leaves, dirt, grass clippings, and whatever else blew into it. That debris blocks airflow across the condenser coils, which forces the compressor to work harder and shortens its lifespan.
What you’ll need: Garden hose (no pressure washer), work gloves, a screwdriver or nut driver for the fan guard.
How to do it:
- Turn off the power. Find the disconnect box near the outdoor unit and flip it to OFF. Also turn off the breaker inside your electrical panel. Do both.
- Clear the surroundings. Pull away any plants, mulch, or debris within 2 feet of the unit on all sides. Trim bushes and branches that have grown too close.
- Remove the fan guard (top grille) if accessible. Reach in carefully and remove any large debris by hand (leaves, twigs, dead critters, it happens).
- Hose down the coils. Spray from the inside out, working your way around the unit. The goal is to flush dirt off the aluminum fins, not blast them. Never use a pressure washer. Those fins bend easily, and bent fins block airflow just like dirt does.
- Straighten any bent fins with a fin comb ($10 at any hardware store) or a butter knife if you’re careful.
- Reassemble and restore power.
One thing I see constantly in Plano and McKinney: landscapers pile mulch right up against the condenser. That’s a recipe for restricted airflow and rodent nesting. Keep a 2-foot clearance minimum. I prefer 3 feet.
Step 3: Flush the Condensate Drain Line (10 Minutes, Free)
This is the #1 cause of AC shutdowns I see in North Texas homes. The condensate line carries moisture out of your system. Over months of sitting idle, algae and mold grow inside the line. When summer hits and the system starts producing gallons of condensation daily, that clogged line backs up and triggers a safety shutoff (or floods your attic).
How to flush it:
- Find the drain line exit point outside your home. It’s a PVC pipe, usually near the outdoor unit, dripping water when the AC runs.
- Locate the cleanout access point (a T-shaped fitting with a cap) near your indoor air handler.
- Remove the cap and pour 1 cup of distilled white vinegar down the line.
- Wait 30 minutes. The vinegar breaks down algae and buildup.
- Flush with warm water to clear everything out.
- Go outside and verify water flows freely from the exit point.
Pro tip: Do this monthly during summer. It takes 2 minutes once the line is already clean, and it prevents the most common AC failure I repair between June and September.
If your system has a condensate pump (common in homes where the air handler is in the basement or a closet at ground level), test the pump by pouring water into the reservoir. The float switch should activate the pump, and water should discharge through the line. If it doesn’t, the pump motor may need replacement ($75-$150 part).
Step 4: Test-Run Your System Before You Need It
Don’t wait until the first 90°F day to find out your AC doesn’t work. Test it now, while it’s still comfortable enough to troubleshoot without sweating through your shirt.
The test protocol:
- Set your thermostat to cooling mode
- Drop the temperature 5°F below the current room temperature
- Listen for the system to start. You should hear the indoor blower kick on within 30 seconds, followed by the outdoor compressor within 1-2 minutes
- After 15 minutes of running, check the supply vents. Air should feel noticeably cold (15-20°F cooler than room temperature)
- Walk through the house and check every vent. One warm room usually means a closed damper or ductwork issue, not a system problem
Red flags that need professional attention:
- System doesn’t turn on at all (could be a blown capacitor, failed contactor, or thermostat issue)
- Outdoor unit hums but the fan doesn’t spin (capacitor failure, $150-$350 repair)
- Warm air from the vents after 15 minutes of running (low refrigerant, dirty coils, or compressor issue)
- Unusual noises: banging, screeching, or clicking (loose parts, failing motor, or electrical problem)
- Ice forming on the refrigerant lines (low charge or airflow restriction)
- Burning or musty smell (accumulated dust burning off is normal for 5 minutes; anything longer needs investigation)
A failed spring test in March means a $150-$350 repair on your schedule. A failed first run in June means a $250+ emergency call when you’re desperate. The math is simple.
Step 5: Check Your Thermostat and Programmable Settings
Your thermostat controls everything, and a misconfigured one wastes hundreds of dollars every summer.
Spring thermostat checklist:
- Replace batteries if your thermostat uses them (most digital models do). Low batteries cause erratic behavior that looks like a system problem.
- Verify cooling mode works. Switch from HEAT to COOL and confirm the system responds. Some thermostats have a delay of up to 5 minutes to protect the compressor.
- Set your summer schedule. The Department of Energy recommends 78°F when you’re home and 85°F when you’re away. Every degree below 78°F adds roughly 3% to your cooling costs.
- Check the fan setting. AUTO is almost always the right choice. The ON setting runs the blower constantly, which sounds like it would help but actually increases humidity by blowing moisture back off the evaporator coil before it can drain.
If you have a smart thermostat, now is the time to review its learning patterns and make sure it hasn’t “learned” your winter schedule as the default. Many homeowners run into cooling issues because the thermostat is still optimized for heating mode.
For a deeper look at saving money on your energy bills, check out our energy efficiency guide.
Step 6: Inspect Ductwork and Vents (15 Minutes, Free)
Leaky ductwork loses 20-30% of cooled air before it reaches your rooms. That’s like paying for AC and then opening a window.
What to check:
- Supply and return vents. Open every register in the house. Closed vents don’t save energy. They create pressure imbalances that stress your system and cause uneven cooling.
- Visible ductwork (attic, basement, crawl space). Look for disconnected sections, crushed flex duct, or holes. Duct tape (ironically) doesn’t seal ducts. Use mastic sealant or aluminum foil tape for real repairs.
- Insulation on duct runs through unconditioned spaces. Ducts in your attic need R-8 insulation minimum in North Texas. Uninsulated attic ducts in 150°F attic heat will sweat, drip, and waste energy all summer.
If you find major duct issues, a professional duct sealing service runs $300-$700 and typically pays for itself within one cooling season through energy savings. Our maintenance checklist covers ductwork inspections in more detail.
Step 7: Schedule a Professional Tune-Up ($89-$199)
Everything above is solid DIY maintenance and gets your system 80% of the way there. The remaining 20% (refrigerant check, electrical testing, evaporator coil cleaning, amp draw measurement) requires professional tools and EPA certification.
Schedule in March or early April. By mid-April, HVAC companies start filling up. By May, you’re looking at 2-3 week wait times.
For a full breakdown of what a professional tune-up actually includes, what to expect during the visit, and how to tell if the tech actually did the work, see our pre-summer AC tune-up guide.
Also worth bookmarking: the spring AC startup checklist covers the startup sequence and first-week monitoring after you have done all of this prep work.
The Spring AC Prep Timeline for North Texas
Timing matters. Here’s when to do what based on North Texas weather patterns:
| When | What to Do | Why |
|---|---|---|
| Early March | Replace filter, clean outdoor unit | Get ahead before pollen season peaks |
| Mid-March | Flush condensate drain, inspect ducts | Algae starts growing as temps rise above 60°F |
| Late March - Early April | Test-run the system, check thermostat | Temps are mild enough to troubleshoot comfortably |
| April | Schedule professional tune-up | Last chance before the summer rush |
| Early May | Final filter check before summer | Pollen season wraps up, switch to summer maintenance mode |
In North Texas, we can get surprise 90°F days as early as late March. That’s why I recommend starting this checklist the first week of March, not waiting until April when everyone else remembers.
What Happens If You Skip Spring Maintenance
I’m not trying to scare you into calling me. But here’s what I see every summer from homeowners who skipped the spring prep:
- Compressor burnout ($1,500-$3,500 repair). A dirty condenser coil forces the compressor to work overtime. By July, the compressor overheats and fails. This is the most expensive AC repair short of a full system replacement.
- Frozen evaporator coil ($200-$800). Low airflow from a dirty filter or low refrigerant causes the coil to ice over. The system shuts down, and by the time it thaws and you call for help, it’s a 2-day wait in peak season.
- Condensate flooding ($200-$2,000+). A clogged drain line backs up into your attic or ceiling. I’ve seen it ruin drywall, insulation, and even hardwood floors. All preventable with a $0 vinegar flush.
- Sky-high electric bills. A poorly maintained system runs 20-30% less efficiently. On a $300/month summer bill in North Texas, that’s $60-$90 per month in wasted electricity.
- Emergency repair premiums. After-hours and weekend emergency calls add $150-$250 to any repair. In peak summer, even daytime calls can take days to schedule.
Thirty minutes of spring maintenance prevents hundreds (sometimes thousands) of dollars in summer problems. That’s the best return on investment in home maintenance.
FAQ
When should I turn on my AC for the first time in spring?
In North Texas, test your AC when outdoor temperatures first hit 60-65°F consistently, usually mid to late March. Running the AC when it’s below 60°F outside can cause the compressor to struggle because the refrigerant pressure is too low. Pick a mild day in the 65-75°F range for your first test run, and let the system operate for at least 30 minutes to verify everything works.
How much does a spring AC tune-up cost in North Texas?
A legitimate spring tune-up costs $89-$199 in the DFW area. This should include a full electrical inspection, refrigerant level check, coil cleaning, and safety controls testing. Be cautious of any company offering tune-ups under $50. Those are typically lead-generation visits designed to upsell you on expensive repairs. A proper tune-up takes 45-90 minutes. If the technician is done in 15 minutes, they didn’t do the work.
Can I prepare my AC for summer myself, or do I need a professional?
You can handle about 80% of spring AC prep yourself using the steps in this guide: filter replacement, outdoor unit cleaning, condensate drain flushing, vent inspection, and thermostat setup. The remaining 20% (refrigerant check, electrical testing, evaporator coil cleaning, amp draw measurement) requires professional tools and EPA certification. I recommend doing the DIY steps first and then scheduling a professional tune-up to cover what you can’t.
What’s the most common reason ACs break down in summer?
Dirty air filters and clogged condensate drains cause roughly 70% of the summer breakdown calls I get. Both are completely preventable with basic spring maintenance. The third most common cause is capacitor failure, which happens because North Texas heat degrades these components faster than the manufacturer’s rated lifespan. A spring electrical check catches weak capacitors before they fail on a 105°F day.
How often should I change my AC filter during Texas summer?
Every 30-60 days during peak cooling season (May through September). North Texas has high pollen counts in spring and heavy dust in summer, both of which clog filters faster than the “every 90 days” recommendation on the package. If you have pets, live near construction, or run your system 24/7 during heat waves, lean toward the 30-day end. Check it every two weeks and you’ll learn your home’s specific rhythm.
Is it worth getting a maintenance plan for my AC?
For North Texas, yes. Your AC runs 2,400+ hours per year (compared to 600 hours in cooler climates), which means every component wears out 3-4 times faster. A maintenance plan typically costs $150-$250 per year and includes spring and fall tune-ups, priority scheduling, and discounts on repairs. Given that a single emergency call starts at $250+ in peak season, one prevented breakdown pays for the plan.
Ready for Summer? Let’s Make Sure Your AC Is Too.
If you’ve worked through this checklist and everything looks good, you’re ahead of 90% of homeowners in North Texas. If you found something that needs professional attention, or you’d rather have a trained technician handle the whole thing, give me a call.
Call (940) 390-5676 to schedule your spring AC tune-up. We serve Frisco, Plano, McKinney, Allen, Prosper, The Colony, Little Elm, and Addison. March and April appointments are the easiest to book, so don’t wait until the first heat wave.
You can also learn more about our AC maintenance services or browse our complete HVAC maintenance checklist for year-round system care.
Gary Musaraj, Owner & EPA-Certified HVAC Professional Jupitair HVAC, serving North Texas since 2008 Last Updated: March 21, 2026