Geothermal HVAC Feasibility: ROI Guide
Comprehensive geothermal HVAC feasibility guide for North Texas. System types, installation costs, energy savings, and soil condition considerations.
Geothermal HVAC in North Texas runs $25,000-$65,000 installed and can cut your energy bills 50-70%, with most homeowners breaking even in 8-12 years. The ground stays at a steady 67-69°F about six feet down, so the system runs at 300-400% efficiency versus 100% for your gas furnace. Whether it actually makes sense for your house depends on your lot size, soil conditions (our North Texas clay is a real wildcard), and whether the system is big enough to justify the cost. Under 3 tons? Probably not worth it.
Is Geothermal HVAC Worth the Investment in North Texas?
I’ll be straight with you. Geothermal is one of those topics where I get homeowners calling me with stars in their eyes after watching some YouTube video about how it’ll eliminate their power bill. And look, the technology is real. It can slash your energy bills 50-70% and the comfort is genuinely better than conventional systems. But we’re talking $35,000-65,000 upfront, and that stops most people cold.
The ones who push through? They can see $85,000+ in lifetime energy savings. That’s not nothing.
This guide is my honest breakdown of when geothermal actually pencils out in North Texas. I’ll walk through our soil situation, what installation really looks like here, and the long-term ROI. Spoiler: it’s a great fit for some homes and a terrible investment for others.
Why North Texas Has Mixed Geothermal Potential
I’ve looked at a lot of geothermal projects across the DFW area over the years, and here’s the thing that geothermal-specific contractors won’t always tell you: it works here, but it’s not the no-brainer they make it sound like. Our geology and climate create a weird mix of advantages and headaches that make geothermal viable for some homes and a money pit for others.
The Ground Temperature Advantage
This is the part that actually is as good as advertised. Six feet down, the ground sits at a steady 67-69°F all year. Think about what that means in August when it’s 105 outside. Your regular AC is fighting a 35-40 degree temperature gap between the outdoor air and what you want inside. A geothermal system? It’s only working against a 5-10 degree gap because it’s dumping heat into 67-degree ground instead of 105-degree air. The efficiency difference is huge.
The Clay Soil Reality
Now here’s where things get complicated. North Texas clay soil is some of the most difficult ground you can work with for geothermal. I’ve seen ground loop installations where the soil movement during drought-to-rain cycles crushed or separated loop connections. Our clay shrinks when it’s dry and swells when it’s wet, sometimes by several inches. That kind of movement can wreck underground piping over time. I’m not trying to scare anyone off. I’m just saying this isn’t theoretical. I’ve had to diagnose ground loop failures that cost thousands to repair because nobody accounted for how aggressive our soil movement really is.
The Economics Don’t Always Work
Here’s the other thing people miss. We have natural gas pretty much everywhere in North Texas, and gas is cheap. So when you’re looking at geothermal heating savings, you’re comparing against a fuel source that’s already really affordable. The heating-side savings alone rarely justify a $40,000 installation. The real payoff comes from cooling efficiency, but even those savings have to dig you out of that massive upfront hole.
My honest take: After looking at dozens of projects, geothermal makes financial sense for maybe 15-20% of North Texas homes. The sweet spot is high cooling loads, limited natural gas access, and stable soil conditions. For the other 80%? A high-efficiency conventional system gives you way better bang for your buck.
Understanding Geothermal Technology
How Geothermal Systems Work
Ground Source Heat Pump Principle: The basic concept is simple. Instead of creating heat by burning gas or using electric resistance, you’re just moving heat between your house and the ground. The ground is your thermal battery.
Cooling Mode (Summer):
In summer, the system pulls heat out of your house and dumps it into the ground. Since the ground is sitting at 67°F while the air is pushing past 100, you’ve got a massive efficiency advantage. We’re talking 40-60% less electricity than a regular AC. That’s where geothermal really shines in Texas. Our summers are long and brutal, and that’s exactly when this technology earns its keep.
Heating Mode (Winter):
Winter flips it around. The system pulls heat from the ground (still at 67°F, even in January) and concentrates it to warm your house. Compare that to an air-source heat pump trying to extract heat from 35-degree air and you can see why the numbers work. The ground doesn’t care what the weather’s doing up top. It just stays at 67.
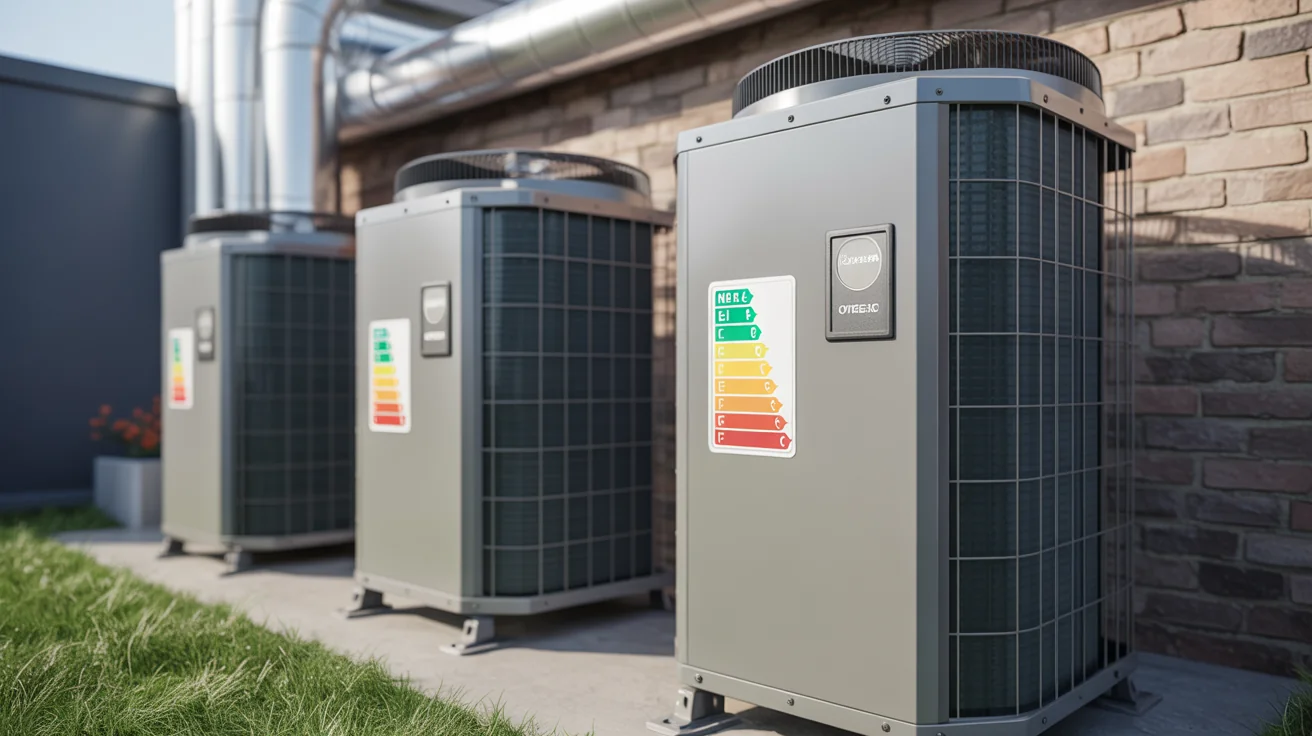
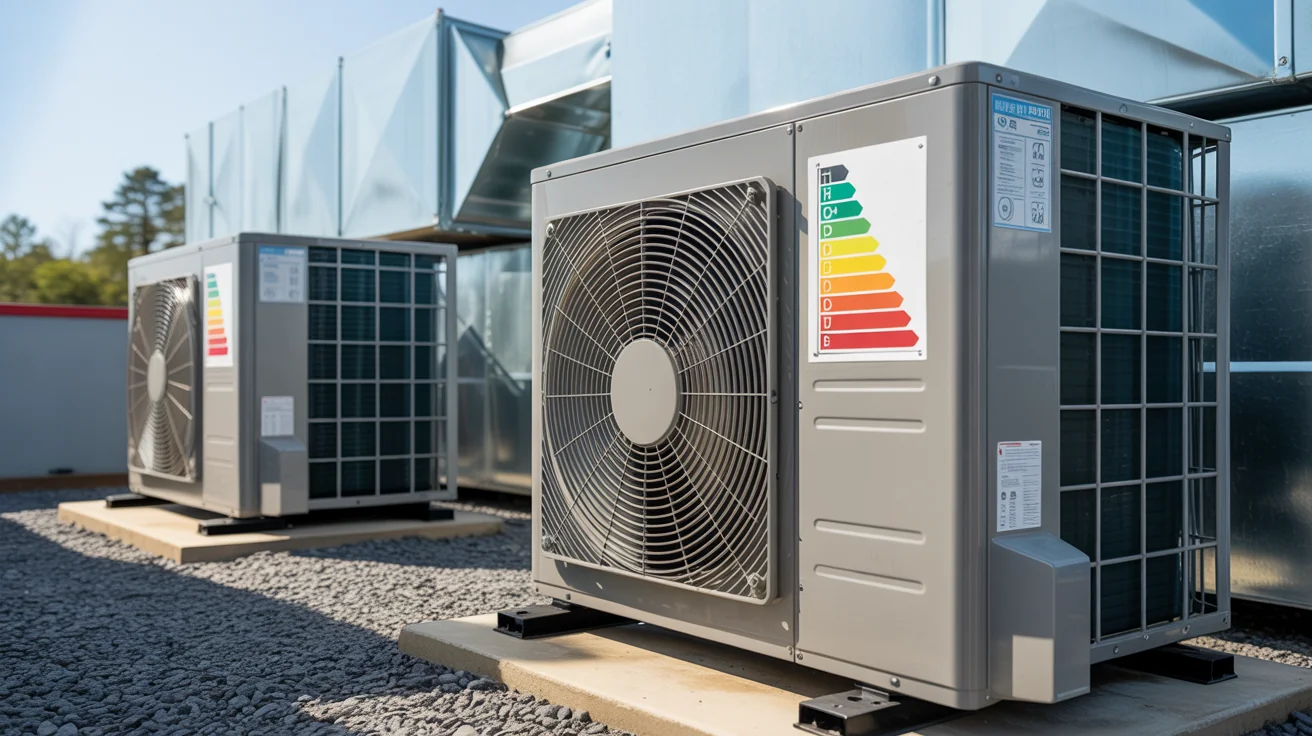
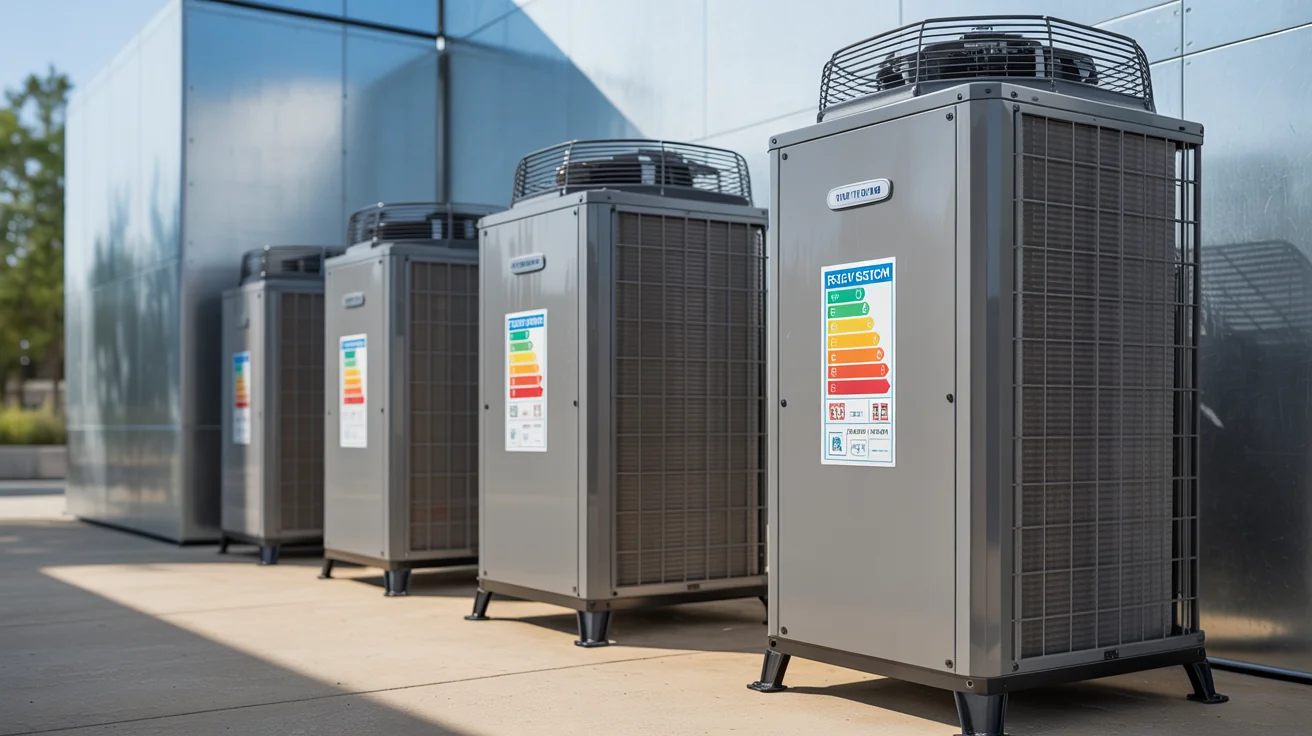
System Components
Heat Pump Unit:
The indoor unit is the brain of the operation. You’ve got variable-speed or two-stage compressors that ramp up and down based on how much heating or cooling you actually need. The heat exchangers can be water-to-air (works with ductwork) or water-to-water (for radiant systems). There’s usually a backup heating element too, either electric strips or gas, for those rare stretches when the system needs help keeping up.
Ground Loop System:
Most installs use a closed loop. That’s sealed piping underground filled with a water and antifreeze mix that just circulates back and forth. Open loop systems pull actual groundwater, but those are pretty rare in North Texas because our water quality is rough on equipment and there are permit headaches. The loop connects to the heat pump through a heat exchanger, and a circulation pump keeps everything flowing at the right rate.
Distribution System:
If you’ve already got ductwork, great. The geothermal heat pump connects to it just like any other furnace and AC combo. Some folks go with radiant floor heating, which pairs really well with geothermal for the heating side. Multi-zone setups are possible too, so different areas of your house can be controlled independently.
North Texas Geological Considerations
Soil and Geology Analysis
Clay Soil Characteristics:
Our clay has thermal conductivity around 0.8-1.2 BTU/hr per foot per degree F. That’s moderate. Not great, not terrible. The problem is how much the moisture content swings with seasons. Dry summer? The clay contracts and pulls away from the loop piping, killing your heat transfer. Heavy spring rains? It swells back and can actually put crushing pressure on the pipes. This expansion-contraction cycle is what makes North Texas installations trickier than most contractors let on.
Rock Formations:
Underneath the clay, you’ll often hit limestone, which is actually great for geothermal. Good thermal conductivity, stable, won’t move around on you. Shale is hit or miss depending on density. The caliche hardpan layer that’s all over North Texas can be a bear to drill through and will bump up your installation cost. And the depth to rock varies a lot even within the same neighborhood, so your neighbor’s install cost might be way different from yours.
Groundwater Considerations:
Water table around here sits anywhere from 20 to 100 feet down, depending on where you are and how much rain we’ve had. The mineral content is high, which is bad news for open loop systems. Minerals eat equipment. Water levels bounce around with the seasons too, so open loop performance can be inconsistent. On top of all that, you may need permits from the county for groundwater use.
Regional Variations
Frisco/Plano Area:
Mixed clay and rock substrata. Ground temps hold steady at 68-69°F. Installation challenges are moderate if you find a contractor who actually knows the local geology. I’d say about 70-80% of the feasibility studies I’ve seen come back positive in this area, which is decent.
McKinney/Allen Region:
Heavier clay up here. More dramatic expansion and contraction. Groundwater tends to be deeper, which makes open loop systems even less practical. Installation costs typically run 15-25% more than Frisco or Plano because the soil just fights you harder. Once the system is in and done right, it performs well. Getting there is the expensive part.
The Colony/Little Elm:
Being near the lakes helps a bit. Ground temps are slightly more stable, and soil near water bodies tends to behave better than inland clay. The tradeoff is that a lot of established neighborhoods are tight on space and equipment access. If you’ve got the yard for it, lake-adjacent properties are actually some of the better geothermal candidates in our area.
System Types and Configurations
Closed Loop Systems
Horizontal Loop Fields:
These go in at 6-8 feet deep, spread out across your yard. You need roughly 2,000-3,000 square feet of open space, which rules out a lot of typical suburban lots right away. When you do have the room, horizontal loops work well and they’re the cheapest option at $25,000-35,000 installed. The catch with shallow loops in North Texas is that they sit right in the zone where our clay soil does its shrink-and-swell thing.
Advantages:
- Lower cost than going vertical
- Good performance when soil cooperates
- Easier to get to if you ever need repairs
- No groundwater needed
Disadvantages:
- You need a big yard
- Shallow depth means more temperature swing
- Can’t really landscape over the loop field
- Clay soil movement is a real concern
Vertical Loop Systems:
Drill down 200-400 feet and you get past all the surface soil problems. At that depth, temperatures are rock-solid stable and clay movement doesn’t matter. You only need space for 1-4 boreholes, so these work on tighter lots. But you’re paying $35,000-45,000, and you need a drilling rig in your backyard. Not every property can accommodate that.
Advantages:
- Small footprint
- Way more stable ground temps
- Clay issues are irrelevant at depth
- Better long-term numbers
Disadvantages:
- Higher price tag
- Need specialized drilling equipment
- Possible groundwater complications
- More involved installation
Open Loop Systems
Groundwater Systems:
These pump actual groundwater through the system at about 5-10 gallons per minute, then return it to the ground through a second well. Cost runs $20,000-30,000 where conditions allow. Simpler concept, but…
North Texas Suitability:
I don’t recommend open loop much around here. Our water is mineral-heavy and it’ll scale up equipment fast. You need permits. You might need water treatment equipment that adds cost. And there are legitimate environmental questions about pulling groundwater and pumping it back. Closed loop is the way to go in almost every North Texas application.
Energy Efficiency and Performance
Related: Energy Efficiency
Efficiency Metrics
Coefficient of Performance (COP):
A geothermal heat pump typically hits a COP of 3.5-4.5 for heating. In plain English, for every dollar of electricity you put in, you get $3.50 to $4.50 worth of heating. Compare that to electric resistance heat (1:1) or even a 96% gas furnace and it’s not close. Cooling performance lands at an EER of 15-25, which blows away any conventional AC on the market. And because ground temps don’t swing, this performance stays consistent season after season.
Annual Performance:
You’ll typically see 40-60% energy reduction for heating and 25-50% for cooling compared to conventional equipment. Some systems include a desuperheater, which is a cool bonus. It takes waste heat from the cooling process and uses it to preheat your water heater. Free hot water in summer, basically. Total annual savings for a typical North Texas home land between $1,500 and $3,500, depending on house size and how much you run the system.
Performance Factors in North Texas
Climate Advantages:
North Texas is actually decent geothermal territory from a climate standpoint. Our winters are mild enough that geothermal heating is incredibly efficient. And our summers are absolutely punishing, which is where the biggest savings kick in. Ground coupling gives you a stability that air-source systems just can’t match when it’s 105 outside. Humidity control is better too. The system dehumidifies more consistently than conventional AC, which matters a lot when we get those muggy stretches.
Seasonal Performance Analysis:
| Season | Ground Temp | Air Temp Range | Efficiency Advantage |
|---|---|---|---|
| Summer | 67-69°F | 85-105°F | 40-60% cooling savings |
| Fall | 67-69°F | 60-85°F | 25-40% combined savings |
| Winter | 67-69°F | 35-65°F | 50-70% heating savings |
| Spring | 67-69°F | 65-85°F | 30-50% combined savings |
Installation Process and Requirements
Site Evaluation and Design
Feasibility Assessment:
- Geological survey: Soil borings and thermal conductivity testing
- Space evaluation: Do you actually have room for the loop field?
- Load calculations: How much heating and cooling does your home need?
- System design: Loop field sizing and equipment selection
- Cost analysis: Full project cost with no surprises
Design Considerations:
Loop sizing is where the engineering gets real. You need 150-300 feet of ground loop per ton of capacity, and the exact number depends on your soil’s thermal properties. Get it wrong and the system underperforms forever. It has to integrate cleanly with your existing ductwork or you’re adding ductwork costs on top of everything else. And if you’re planning an addition or major renovation in the next few years, the system needs to be sized for that too.
Professional Installation Process
Phase 1: Site Preparation (1-2 days)
- Permits: Get drilling and electrical permits pulled
- Site layout: Mark all utilities, plan where equipment gets in and out
- Equipment staging: Get the drilling rig and materials positioned
- Safety setup: Work zones, flagging, the whole deal
Phase 2: Ground Loop Installation (3-7 days)
- Drilling or excavation: This is the loud, messy part. Vertical boreholes or horizontal trenches
- Loop installation: Laying the piping with proper spacing
- Connections: Fusion-welded joints (no glue, no fittings that can fail)
- Pressure testing: We pressurize the whole loop and watch for drops before any dirt goes back in
- Backfill: Put the yard back together with proper compaction so you don’t end up with sinkholes
Phase 3: Equipment Installation (2-3 days)
- Heat pump placement: Indoor unit goes in with proper clearances
- Electrical connections: High and low voltage wiring
- Ductwork connections: Tie into existing or new distribution
- Control installation: Thermostat and system controls
- System commissioning: Startup, testing, dialing in the performance
Permitting and Regulatory Requirements
Required Permits:
You’ll need building permits for the equipment and electrical work, just like any HVAC install. Vertical systems may need drilling permits depending on your city. Open loop? Groundwater permits, which can be a whole process. And separate electrical permits for the new service or circuits.
Code Compliance:
Everything has to meet IRC and IMC codes, plus whatever local amendments your city has added. We coordinate with the electric utility on service requirements. And if there’s any groundwater involved, environmental regs come into play. It’s more paperwork than a conventional install, no question.
Cost Analysis and ROI
Complete Cost Breakdown
Complete Geothermal System Costs:
Horizontal Loop System: $25,000-35,000
Breaking that down: $8,000-12,000 for the heat pump equipment itself, $12,000-18,000 for digging up your yard and installing the loop, $2,000-3,000 for electrical and controls, $1,500-3,000 for ductwork mods, and $1,500-2,000 in permits and miscellaneous. It adds up fast.
Vertical Loop System: $35,000-45,000
Same heat pump cost at $8,000-12,000, but the drilling and loop installation jumps to $20,000-28,000. That’s where the money goes. Drilling is expensive, especially when you hit caliche or variable rock at 150 feet. Electrical, ductwork, and permits run similar to horizontal, maybe slightly more for drilling permits.
Premium Systems: $45,000-65,000
When you’re going all-in with top-tier variable-speed equipment ($12,000-18,000), complex loop designs for challenging sites ($25,000-35,000), advanced monitoring and controls ($3,000-5,000), full ductwork replacement ($4,000-8,000), and whatever site complications throw at you. I’ve seen projects hit the upper end when they run into unexpected rock or had to reroute around buried utilities nobody knew about.
Return on Investment Analysis
Energy Savings Projections:
| Home Size | Annual Energy Savings | 10-Year Savings | 20-Year Savings |
|---|---|---|---|
| 2,000 sq ft | $1,800-2,400 | $18,000-24,000 | $36,000-48,000 |
| 2,500 sq ft | $2,200-2,800 | $22,000-28,000 | $44,000-56,000 |
| 3,000 sq ft | $2,600-3,200 | $26,000-32,000 | $52,000-64,000 |
| 3,500 sq ft | $3,000-3,600 | $30,000-36,000 | $60,000-72,000 |
Payback Period Analysis:
Without any incentives, you’re looking at 10-15 years to break even on energy savings alone. Factor in the 30% federal tax credit and any utility rebates and that drops to 7-12 years. Run the NPV math and you’re typically in positive territory by year 8-12. Over a full 25-year system life, total savings land somewhere between $50,000 and $100,000. And if energy prices keep climbing (which they tend to do), those numbers get even better.
Financing and Incentives
Federal Incentives:
This is the big one. The 30% federal residential tax credit runs through 2032, and there’s no cap on the credit amount for residential geothermal. On a $40,000 system, that’s $12,000 back. Typical credit amounts range from $7,500-19,500 depending on system size. Your system has to meet Energy Star specs, but any reputable equipment will. This single incentive is what makes geothermal math work for most people.
Utility Incentives:
Oncor has rebates up to $2,000 for qualifying geothermal installs. There are some ERCOT-related efficiency incentives floating around too. A handful of North Texas cities offer their own rebates, usually $500-1,000. Stack everything together and you might see $2,000-4,000 in utility incentives on top of the federal credit.
Financing Options:
Dedicated energy efficiency loans usually come with lower interest rates than standard home improvement loans. PACE financing lets you pay through your property tax bill over a long term, which keeps monthly costs down. Some geothermal contractors offer promotional 0% financing, which is great if you qualify. And home equity loans work too, with the added bonus of potentially tax-deductible interest.
Maintenance and Longevity
System Maintenance Requirements
Routine Maintenance:
Here’s something people love about geothermal: maintenance is minimal compared to a conventional system. No outdoor condenser to clean, no compressor sitting in the weather. You still need annual heat pump tune-ups, and filters get changed every 3-6 months just like any system. The ground loop needs a pressure and flow check once a year. Thermostat calibration, control checks, standard stuff.
Ground Loop Maintenance:
Once a year, we check for leaks, verify flow rates, test the antifreeze concentration, and make sure the circulation pump is running right. That’s about it. The loop itself is underground, sealed, and basically passive. There’s not much to go wrong if it was installed correctly. The key phrase being “installed correctly.”
System Longevity
Component Life Expectancy:
This is where geothermal really wins. The ground loops? Fifty years, minimum. Some of the earliest residential installations from the 1980s are still running on original loops. The heat pump equipment lasts 20-25 years, which is comparable to or better than high-end conventional gear. Circulation pumps need replacing every 15-20 years. Controls and electronics, figure 10-15 years before you’ll want to upgrade.
Reliability Factors:
Fewer moving parts means fewer things that can break. Simple as that. The heat pump sits inside, protected from weather, unlike your outdoor AC condenser that bakes in 105-degree sun and gets pelted with hail. Ground temperatures don’t fluctuate, so the system isn’t constantly cycling between extremes. One thing I always tell people though: quality installation is everything. A bad install will haunt you for the life of the system. Use experienced geothermal contractors, not someone who watched a training video last month.
When Geothermal Makes Sense
Ideal Applications
Best Candidates for Geothermal:
New construction is the easiest and cheapest time to do it. You’re already digging up the yard, there’s no landscaping to destroy, and you can plan the whole system from scratch. Large homes benefit more because the fixed installation costs get spread across higher energy savings. If your cooling bills are already brutal, the payoff comes faster. Homes without natural gas are especially good candidates since you’re comparing against electric heat, which is expensive. And obviously, you need to be planning to stay put for 10+ years. If you’re selling in five years, don’t bother.
Property Requirements:
Horizontal loops need at least 2,000 square feet of open yard. Your soil can’t be a total disaster. A drilling rig or excavator needs to be able to get into your backyard without taking out a fence, pool, or your neighbor’s patio. And your foundation should be stable. If you’re already dealing with foundation movement from clay soil, adding more underground infrastructure isn’t ideal.
When to Consider Alternatives
Better Alternatives When:
If $35,000 is out of reach, a high-efficiency conventional system will serve you well for a fraction of the cost. Small homes under 2,000 square feet rarely generate enough savings to justify the investment. If you just put in a new 18 SEER AC and a 96% furnace, switching to geothermal doesn’t pencil out. Bad soil conditions, tight lots, short ownership timelines under 8-10 years. Any of those should point you toward a conventional system instead.
Professional Assessment and Installation
Feasibility Study Process
Complete Evaluation:
- Site assessment: What’s your soil look like? How much space do you have?
- Energy analysis: What are you spending now and what could you save?
- System design: Preliminary sizing and equipment selection
- Cost estimation: The full number, not a lowball estimate
- ROI analysis: When does this start paying you back?
Decision Support:
We’ll do a side-by-side comparison of geothermal vs. conventional, including long-term energy costs and total ownership cost. If you decide to move forward, we help navigate the tax credit paperwork and financing applications. We handle the full project timeline from permits through commissioning. And we stand behind the install with warranties and performance commitments.
Jupitair’s Geothermal Expertise
Professional Services:
Our team includes geothermal-certified techs trained in ground loop design and heat pump installation. We manage the whole project from the feasibility study through final testing and homeowner walkthrough. Every system gets full performance verification before we consider the job done. And we’re here for the long haul with maintenance and service to keep things running right.
Frequently Asked Questions
Q: Is North Texas suitable for geothermal systems? A: It’s moderate. Our clay soil and relatively mild winters mean the advantages aren’t as dramatic as they’d be in Minnesota or Arizona. But for the right property, systems can still deliver real savings.
Q: How much space do I need for geothermal? A: Horizontal loops need 2,000-3,000 sq ft of open yard. Vertical systems only need room for a few boreholes (100-200 sq ft), but they cost more because of the drilling.
Q: Will geothermal work in clay soil? A: Yes, but clay creates installation challenges and can affect long-term performance. You absolutely need a professional soil analysis before committing. Don’t skip this step.
Q: What’s the payback period for geothermal in North Texas? A: Without incentives, 10-15 years. With the 30% federal tax credit and utility rebates, more like 7-12 years.
Q: Can I install geothermal in an existing home? A: You can, but expect to pay 25-50% more than you would in new construction. Access is harder, there’s landscaping to restore, and the ductwork might need modification.
Q: How reliable are geothermal systems? A: Very. Fewer moving parts than conventional equipment, indoor-protected components, and ground loops that last 50+ years. The heat pump equipment goes 20-25 years with proper maintenance.
Your Geothermal Decision Process
Evaluation Steps
- Check the basics: Is your home big enough? Do you have the yard space? Are you staying long term?
- Get a professional feasibility study: Soil analysis, system design, real numbers
- Run the financial comparison: Total costs, savings, credits, and actual payback
- Plan the installation: Timeline, access, what your yard’s going to look like for a week
Implementation Process
- System design: Lock down the specs and equipment selection
- Permitting: Pull all required permits (we handle this)
- Installation: Professional install with quality checks at every phase
- Commissioning: System startup, performance testing, and fine-tuning
Get Professional Geothermal Feasibility Analysis
If you’ve read this far and you’re still interested, that’s a good sign. The next step is a real feasibility study for your specific property. Not every home is a match, and I’d rather tell you that upfront than sell you something that won’t deliver.
Want to find out if geothermal works for your home?
Call (940) 390-5676 and talk to us about your situation. We’ll be honest about whether it makes sense or whether a high-efficiency conventional system is the smarter play. You can also schedule a full feasibility study at jupitairhvac.com/contact. We’ll test your soil, evaluate your property, size a system, and give you real numbers. No pressure, no sales pitch. Just the data you need to make a good decision.
Certified Geothermal Specialists | Complete System Design & Installation | Serving North Texas since 2008
Jupitair HVAC: Licensed & Insured, and certified for geothermal HVAC systems across Plano, Frisco, McKinney, Allen, The Colony, Little Elm, and surrounding North Texas communities.
Sources & References
The geothermal efficiency data, cost estimates, and technical specifications in this article are based on the following authoritative sources:
- U.S. Department of Energy - Geothermal Heat Pumps - Ground source heat pump technology and efficiency ratings
- ENERGY STAR Geothermal Heat Pumps - Certified equipment specifications and performance criteria
- EPA Ground Source Heat Pump Information - Environmental benefits and efficiency comparisons
- IGSHPA (International Ground Source Heat Pump Association) - Industry standards for geothermal installation and design
- NREL Geothermal Research - National Renewable Energy Laboratory ground source data
- Texas State Energy Conservation Office - State incentives and rebate programs
Last Updated: January 2026
Need Professional HVAC Service?
Our certified technicians are ready to help with any HVAC needs in North Texas